| .. | ||
| assets | ||
| README.md | ||
How to setup hardened Ubuntu environment on Intel computer
Requirements
The following hardware is required.
- Computer compatible with Ubuntu 22.04.1 LTS
- USB flash drive (used to create Ubuntu for desktops bootable installer, 4GB min)
- USB flash drive (used to install Ubuntu for desktops, 16GB min)
Recommendations
Physically removing internal disk(s) and wireless interface(s) if not soldered to motherboard or disabling interface(s) using BIOS if soldered is recommended to strengthen data persistence and air gap hardening.
Installing Ubuntu for desktops on datAshur PRO² USB flash drive is recommended to enforce access control, data persistence and tamper resistance hardening.
Bootable installer creation guide
Step 1: install Raspberry Pi Imager
macOS
Go to https://www.raspberrypi.com/software/, download and install Raspberry Pi Imager.
Ubuntu (or other Debian-based OS)
Heads-up: depends on Qt.
$ sudo add-apt-repository -y universe

$ sudo apt install -y rpi-imager
Step 2: disable Raspberry Pi Imager telemetry
macOS
$ defaults write org.raspberrypi.Imager.plist telemetry -bool NO
Ubuntu (or other Debian-based OS)
$ mkdir -p ~/.config/Raspberry\ Pi

$ cat << "EOF" > ~/.config/Raspberry\ Pi/Imager.conf
[General]
telemetry=false
EOF
Step 3: download Ubuntu for desktops
Heads-up: for additional security, verify Ubuntu for desktops download.
Go to https://ubuntu.com/download/desktop and download Ubuntu 22.04.1 LTS.
Step 4: create Ubuntu for desktops bootable installer
Open “Raspberry Pi Imager”, click “CHOOSE OS”, then “Use custom”, select Ubuntu for desktops .iso, click “CHOOSE STORAGE”, select USB flash drive and, finally, click “WRITE”.
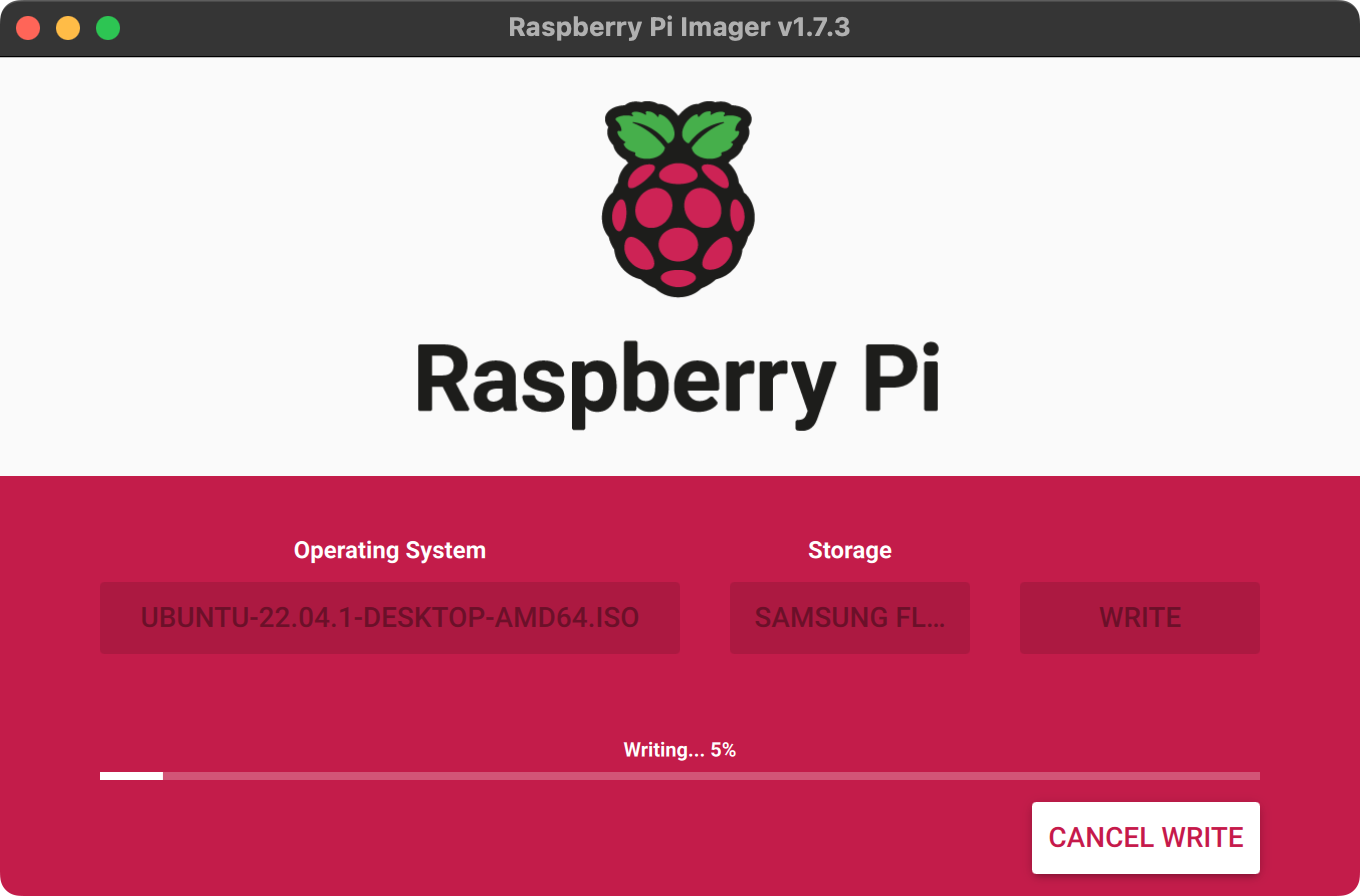
👍
Installation guide
Step 1 (optional): physically remove internal disk(s)
Step 2 (optional): initialize datAshur PRO² and enable bootable mode (see product documentation for instructions)
Step 3: insert both USB flash drives into computer
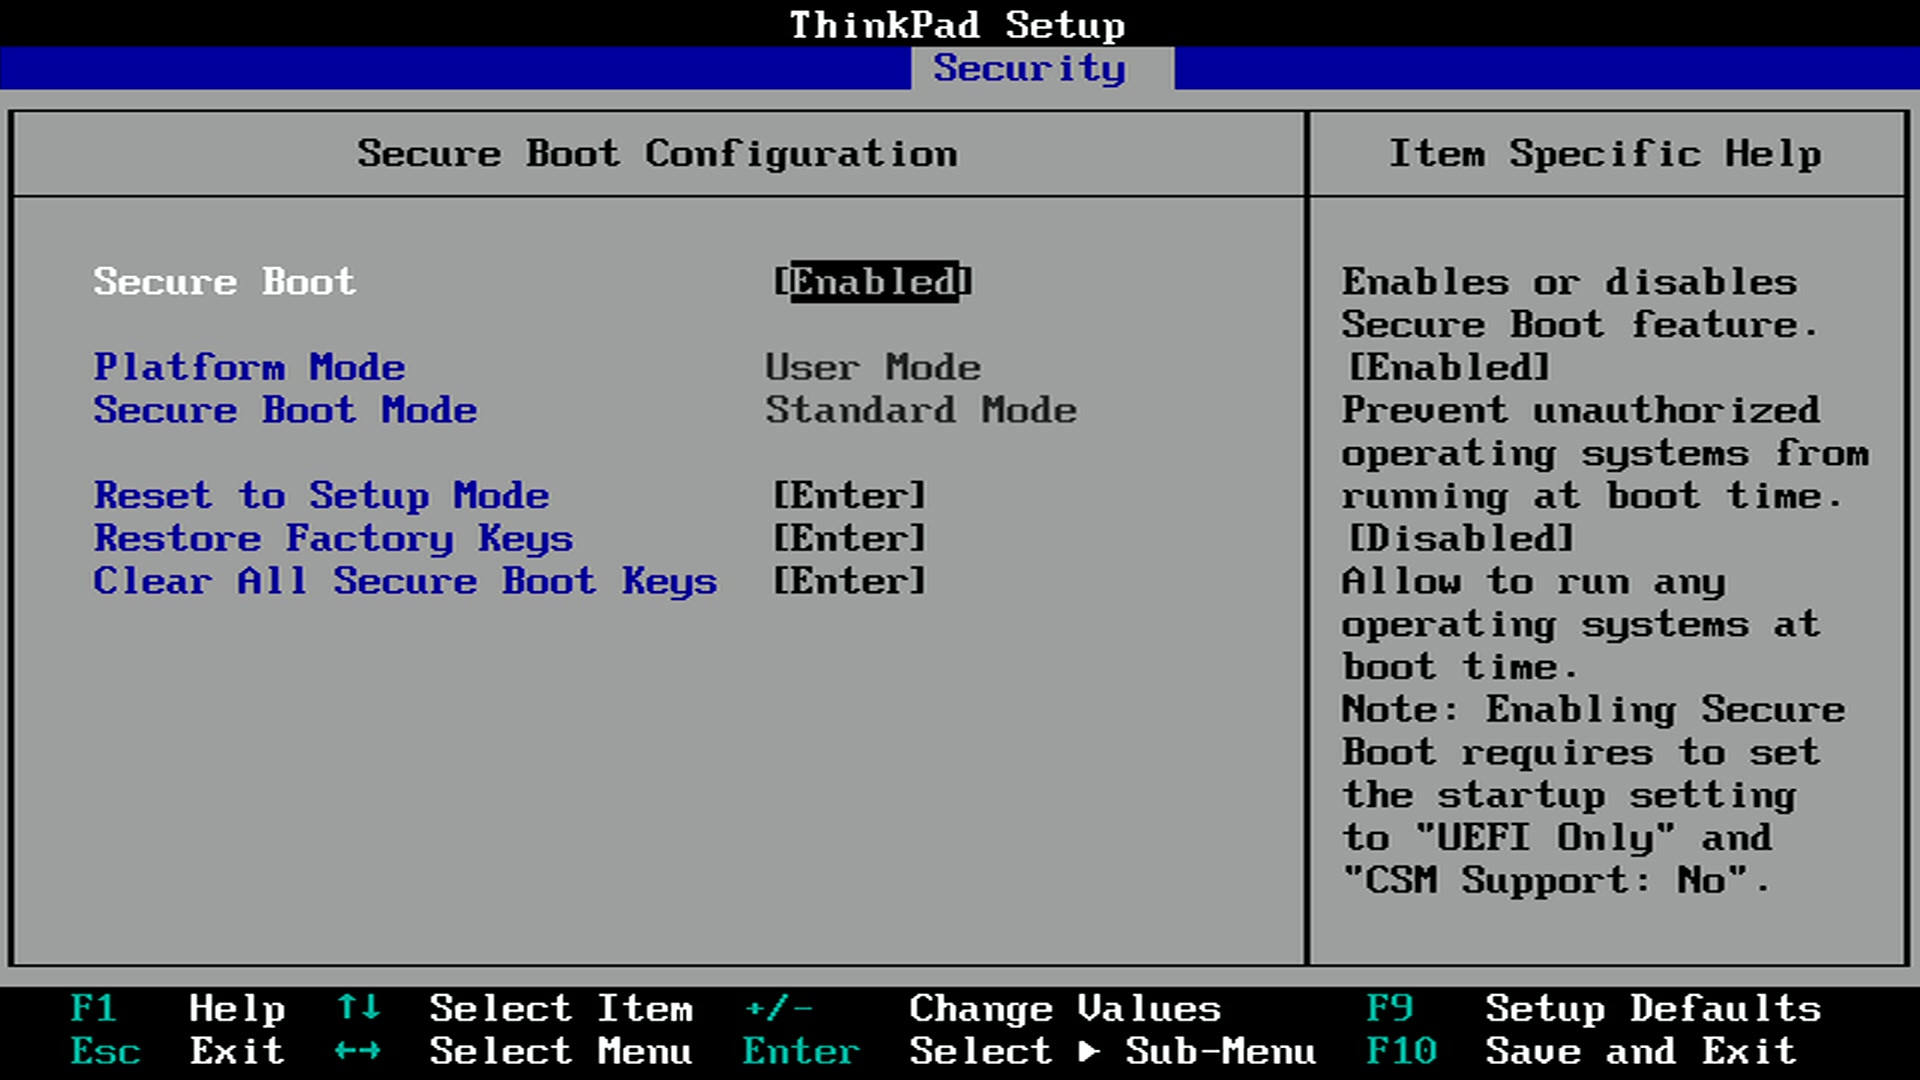
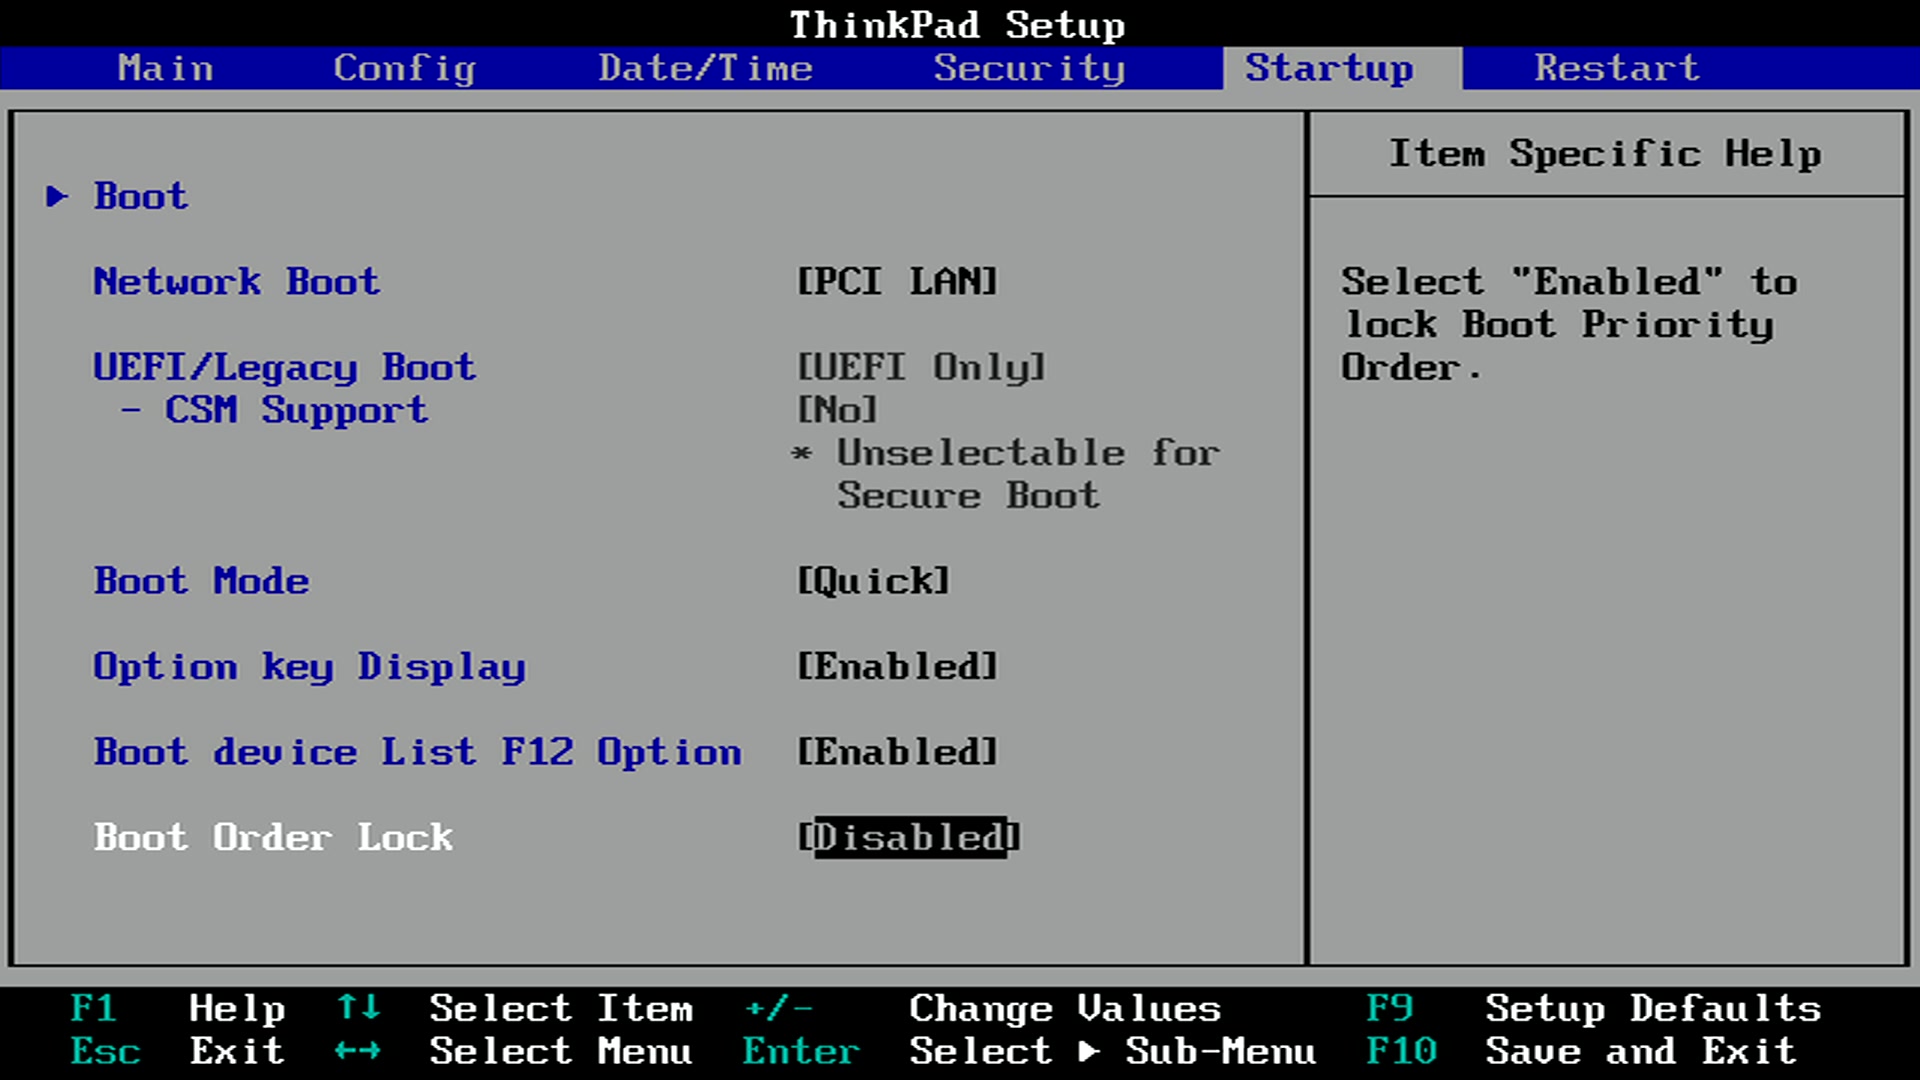
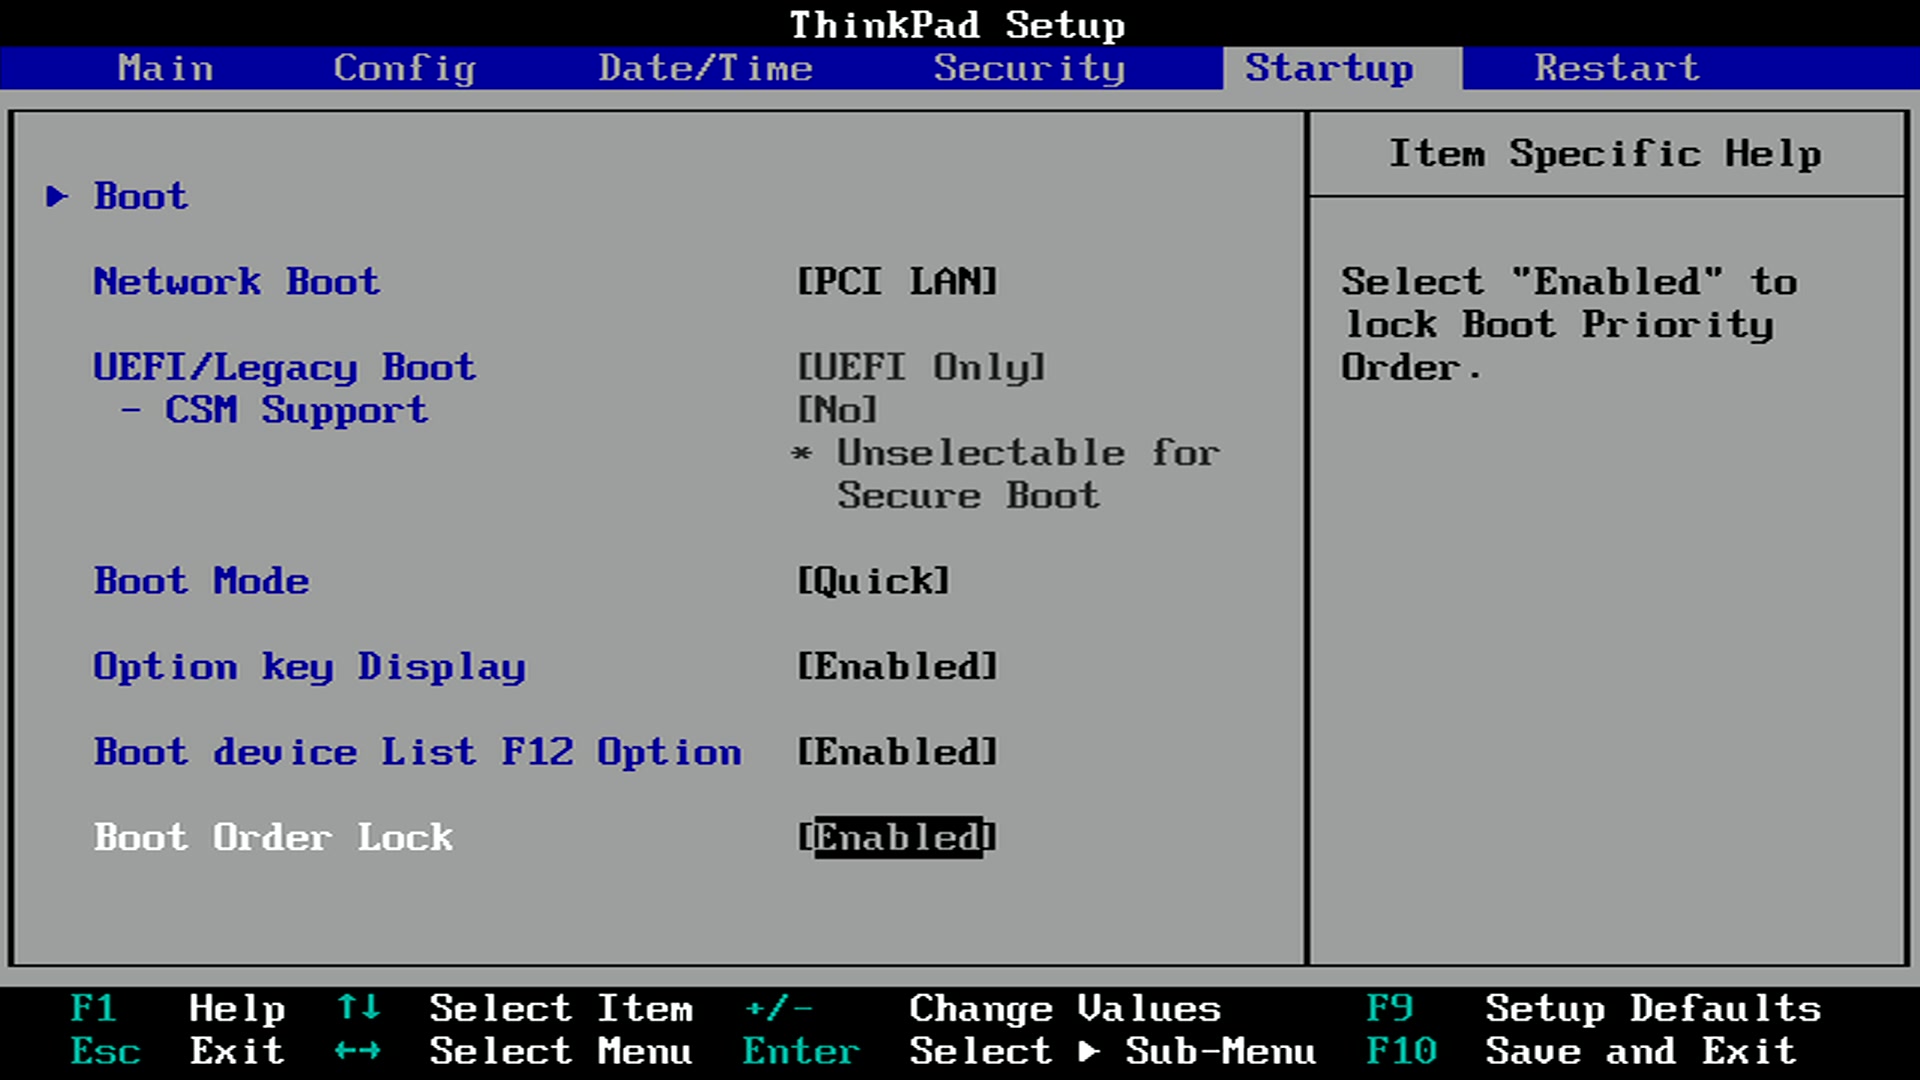
Step 4 (if applicable): enable “Secure Boot” and disable “Boot Order Lock”
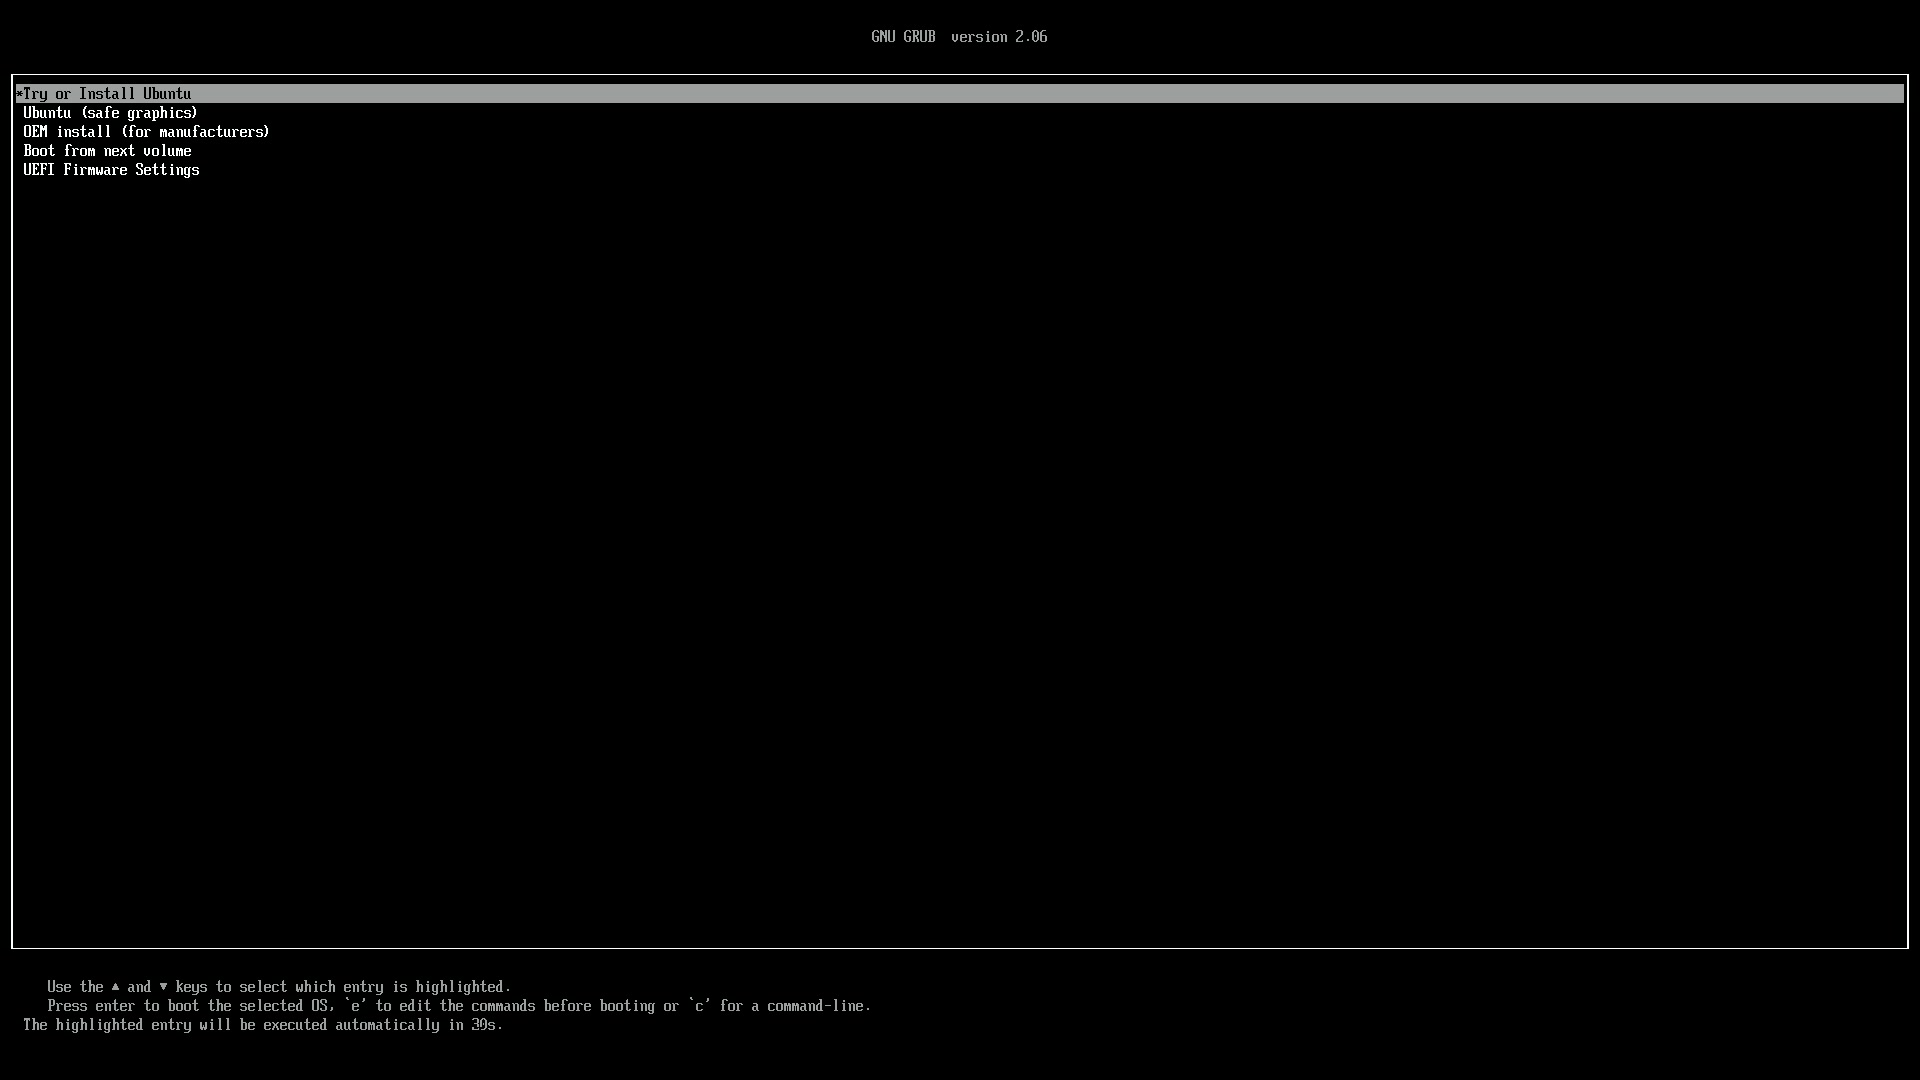
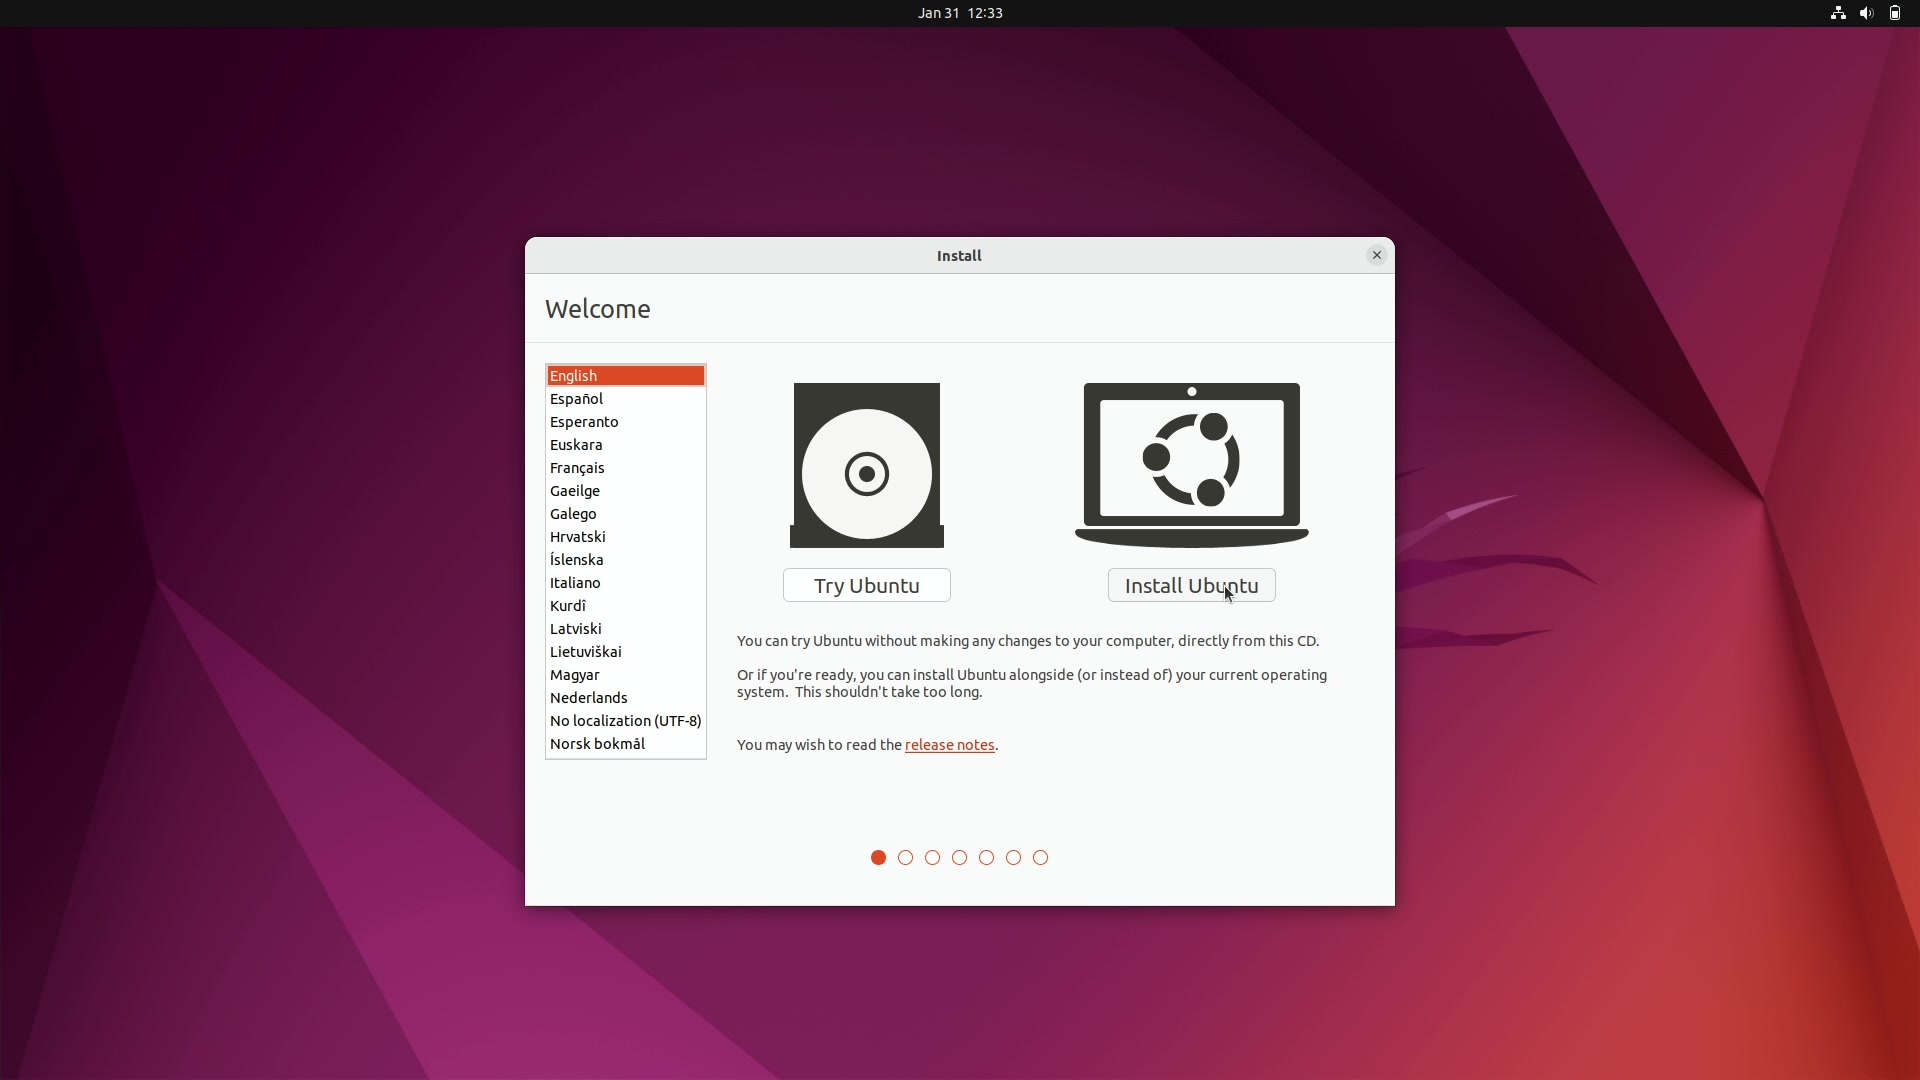
Step 5: boot to Ubuntu for desktops bootable installer and select “Try or Install Ubuntu”
Step 6: connect Ethernet cable or connect to Wi-Fi network
Step 7: install Ubuntu
Click “Install Ubuntu”
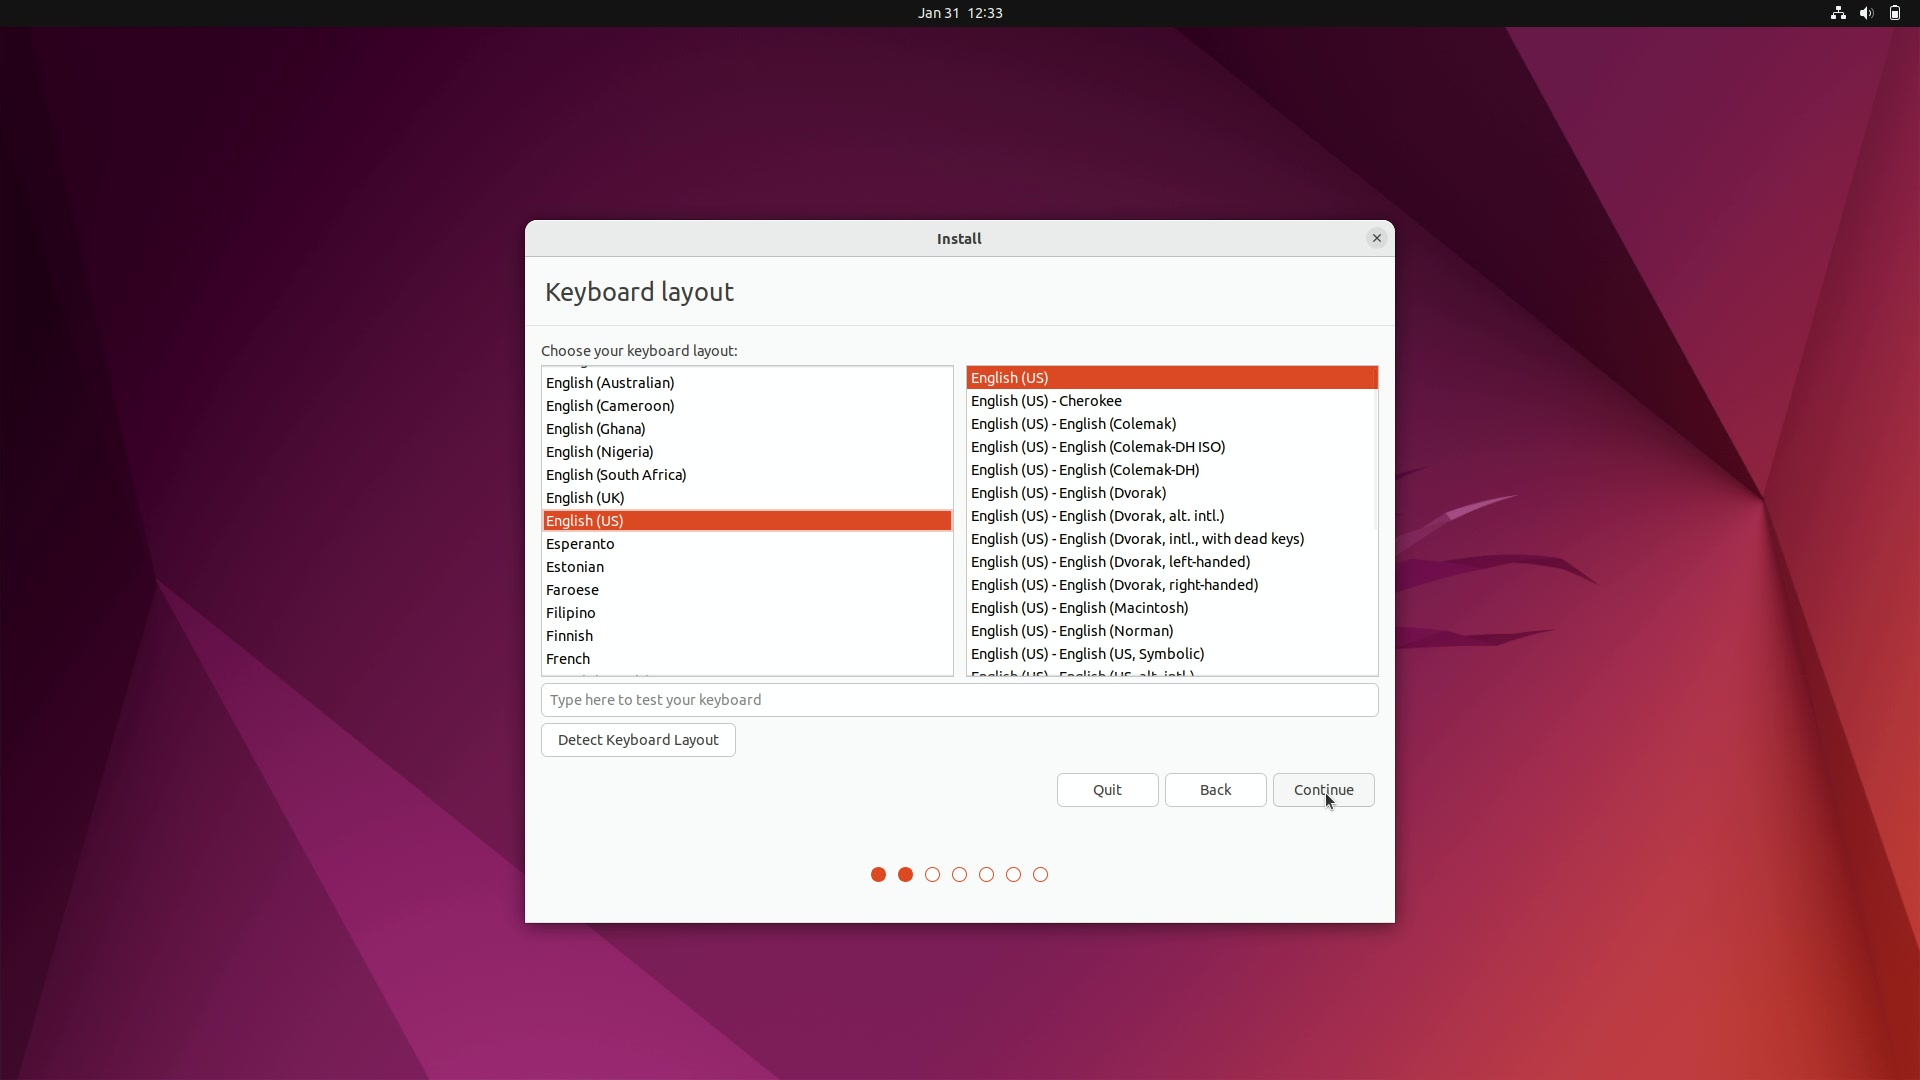
Choose keyboard layout and click “Continue”
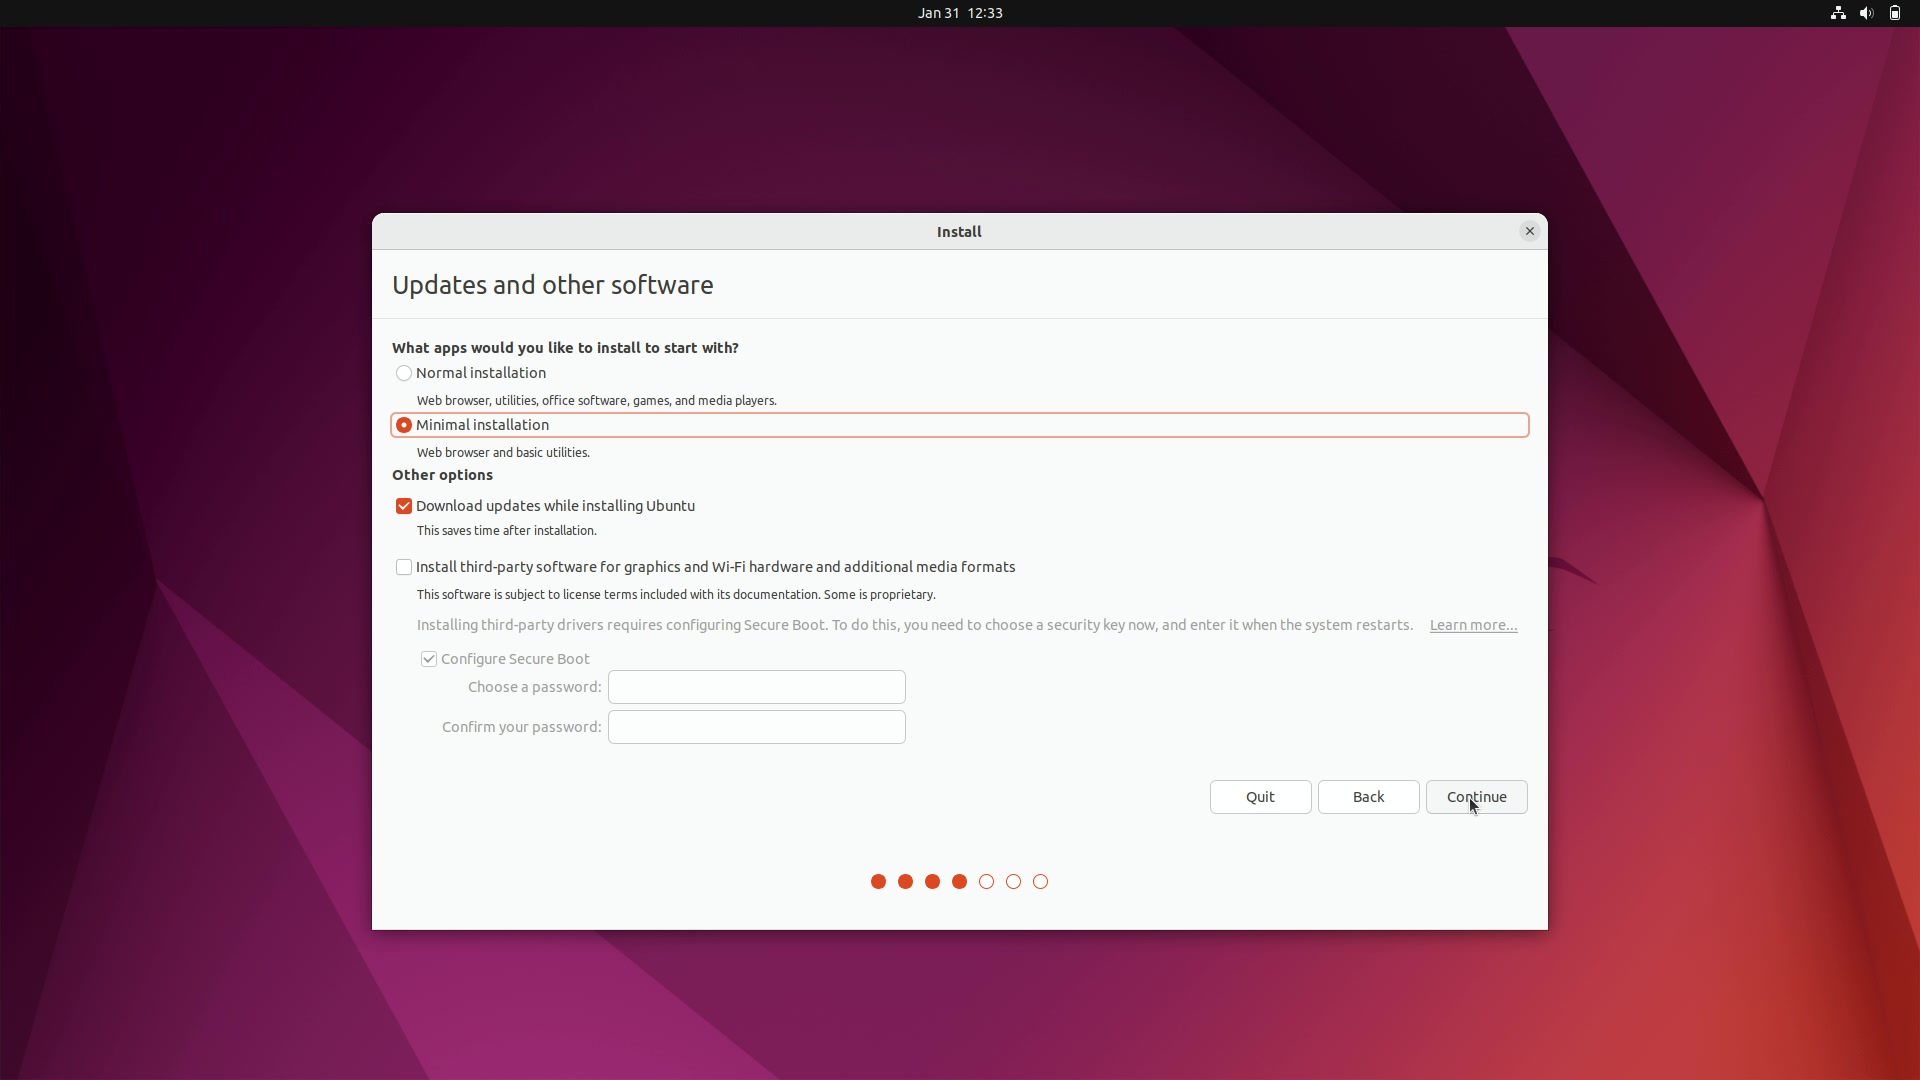
Select “Minimal installation” and click “Continue”
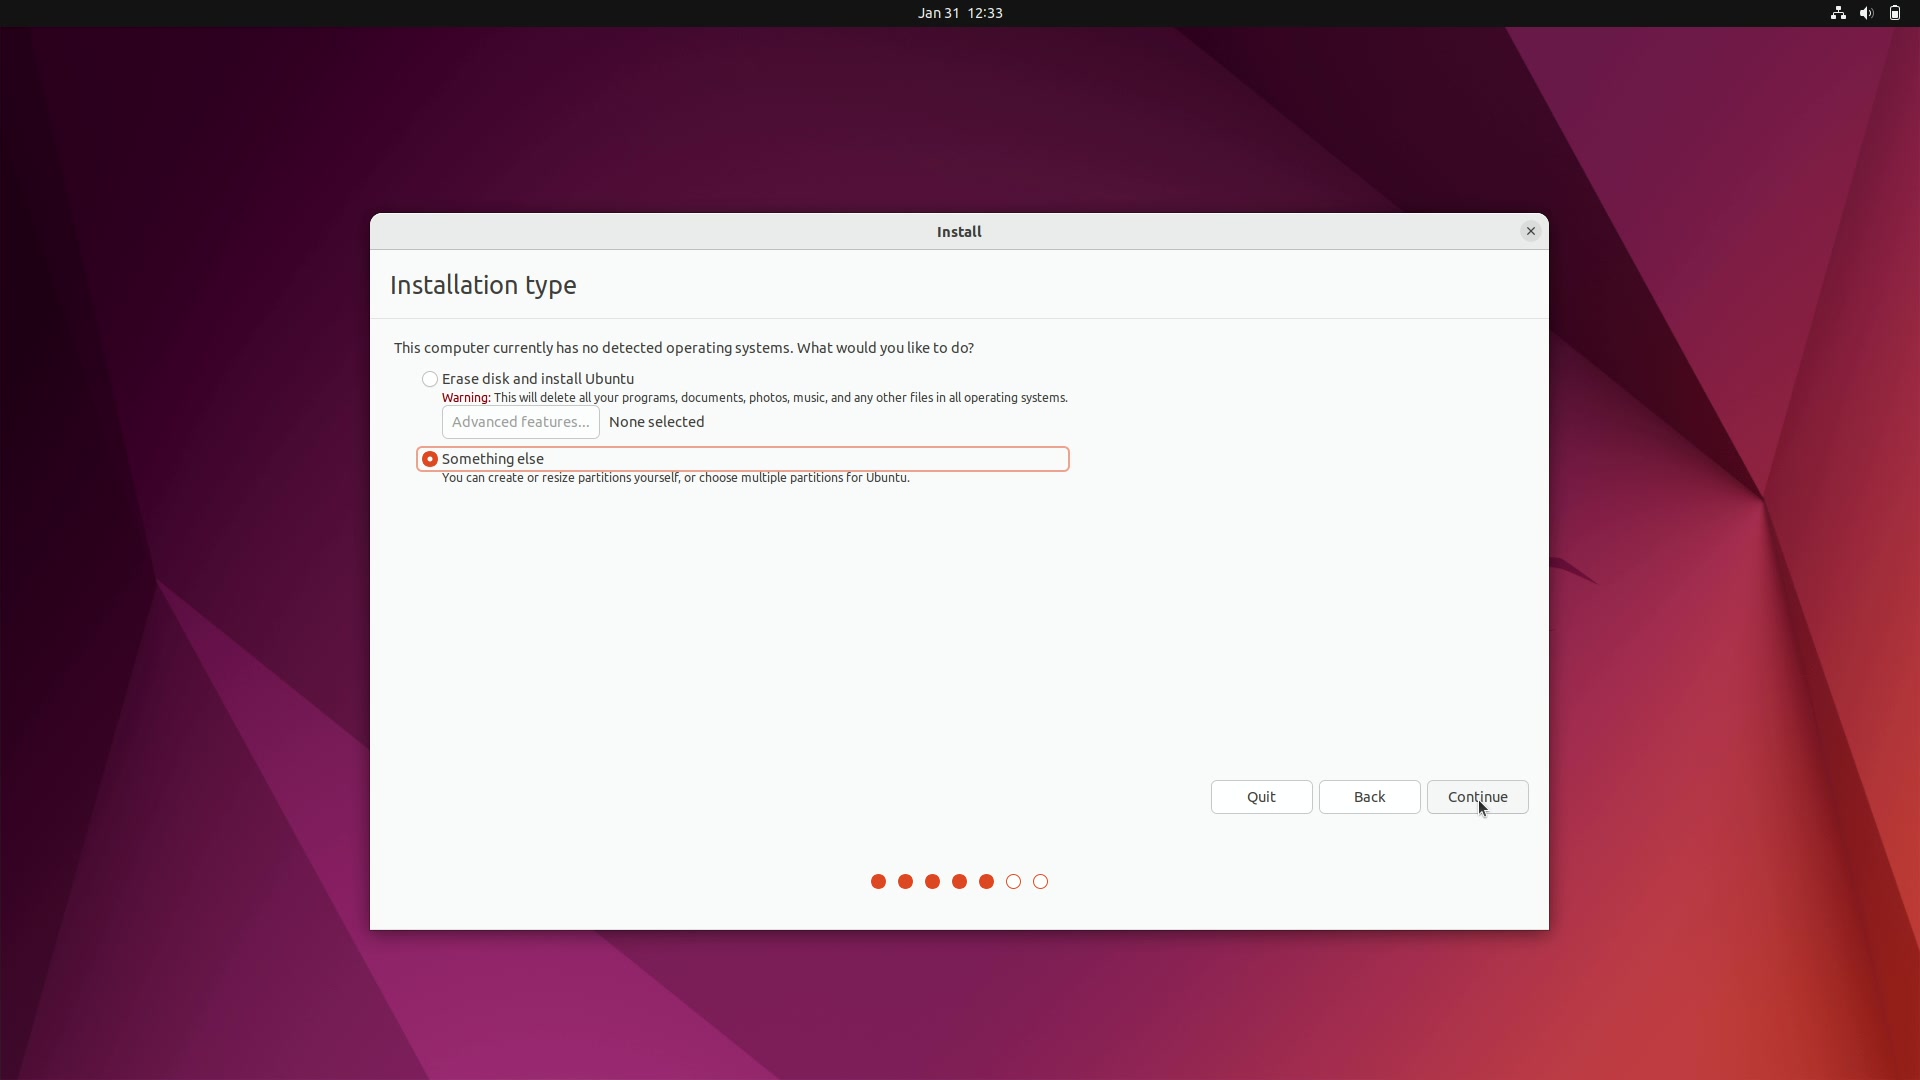
Select “Something else” and click “Continue”
Delete all partitions on USB flash drive on which Ubuntu for desktops is being installed
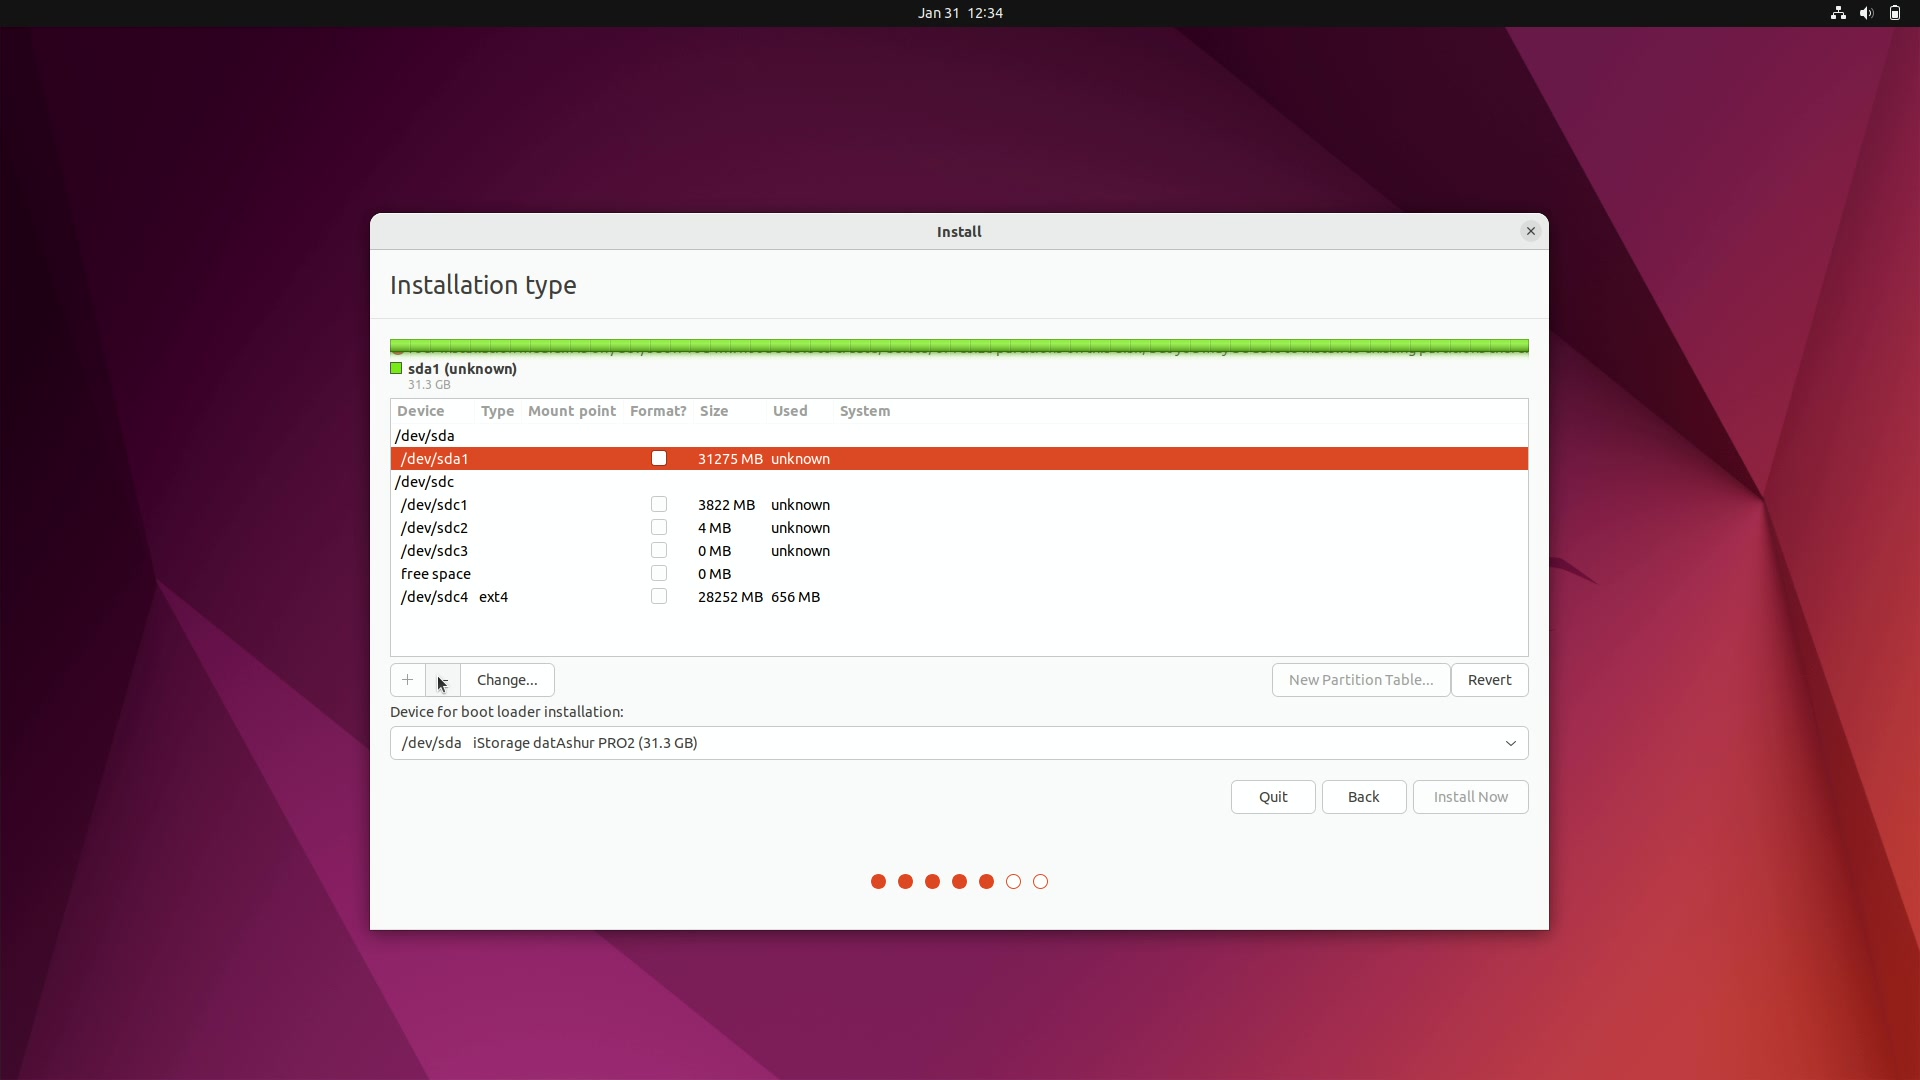
Create 512MB EFI partition on USB flash drive on which Ubuntu for desktops is being installed
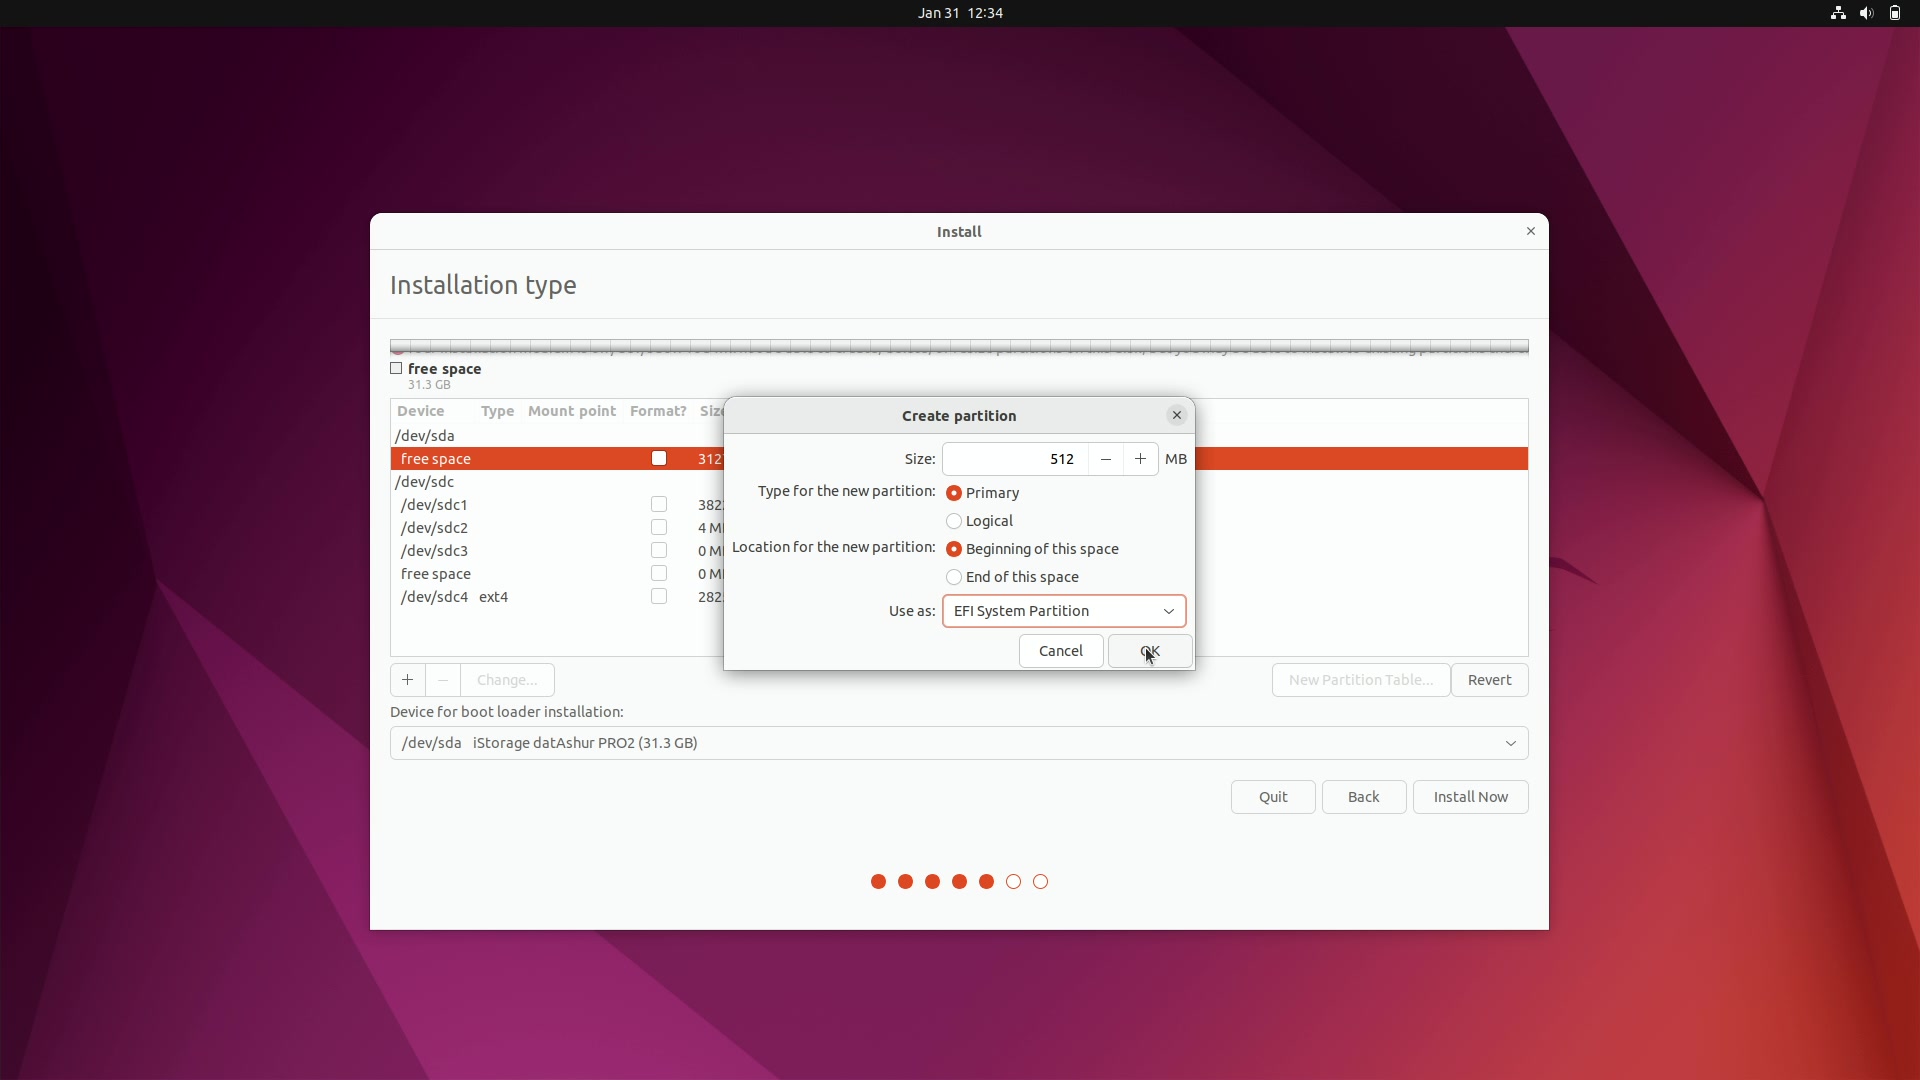
Create ext4 partition and set mount point to / on USB flash drive on which Ubuntu for desktops is being installed

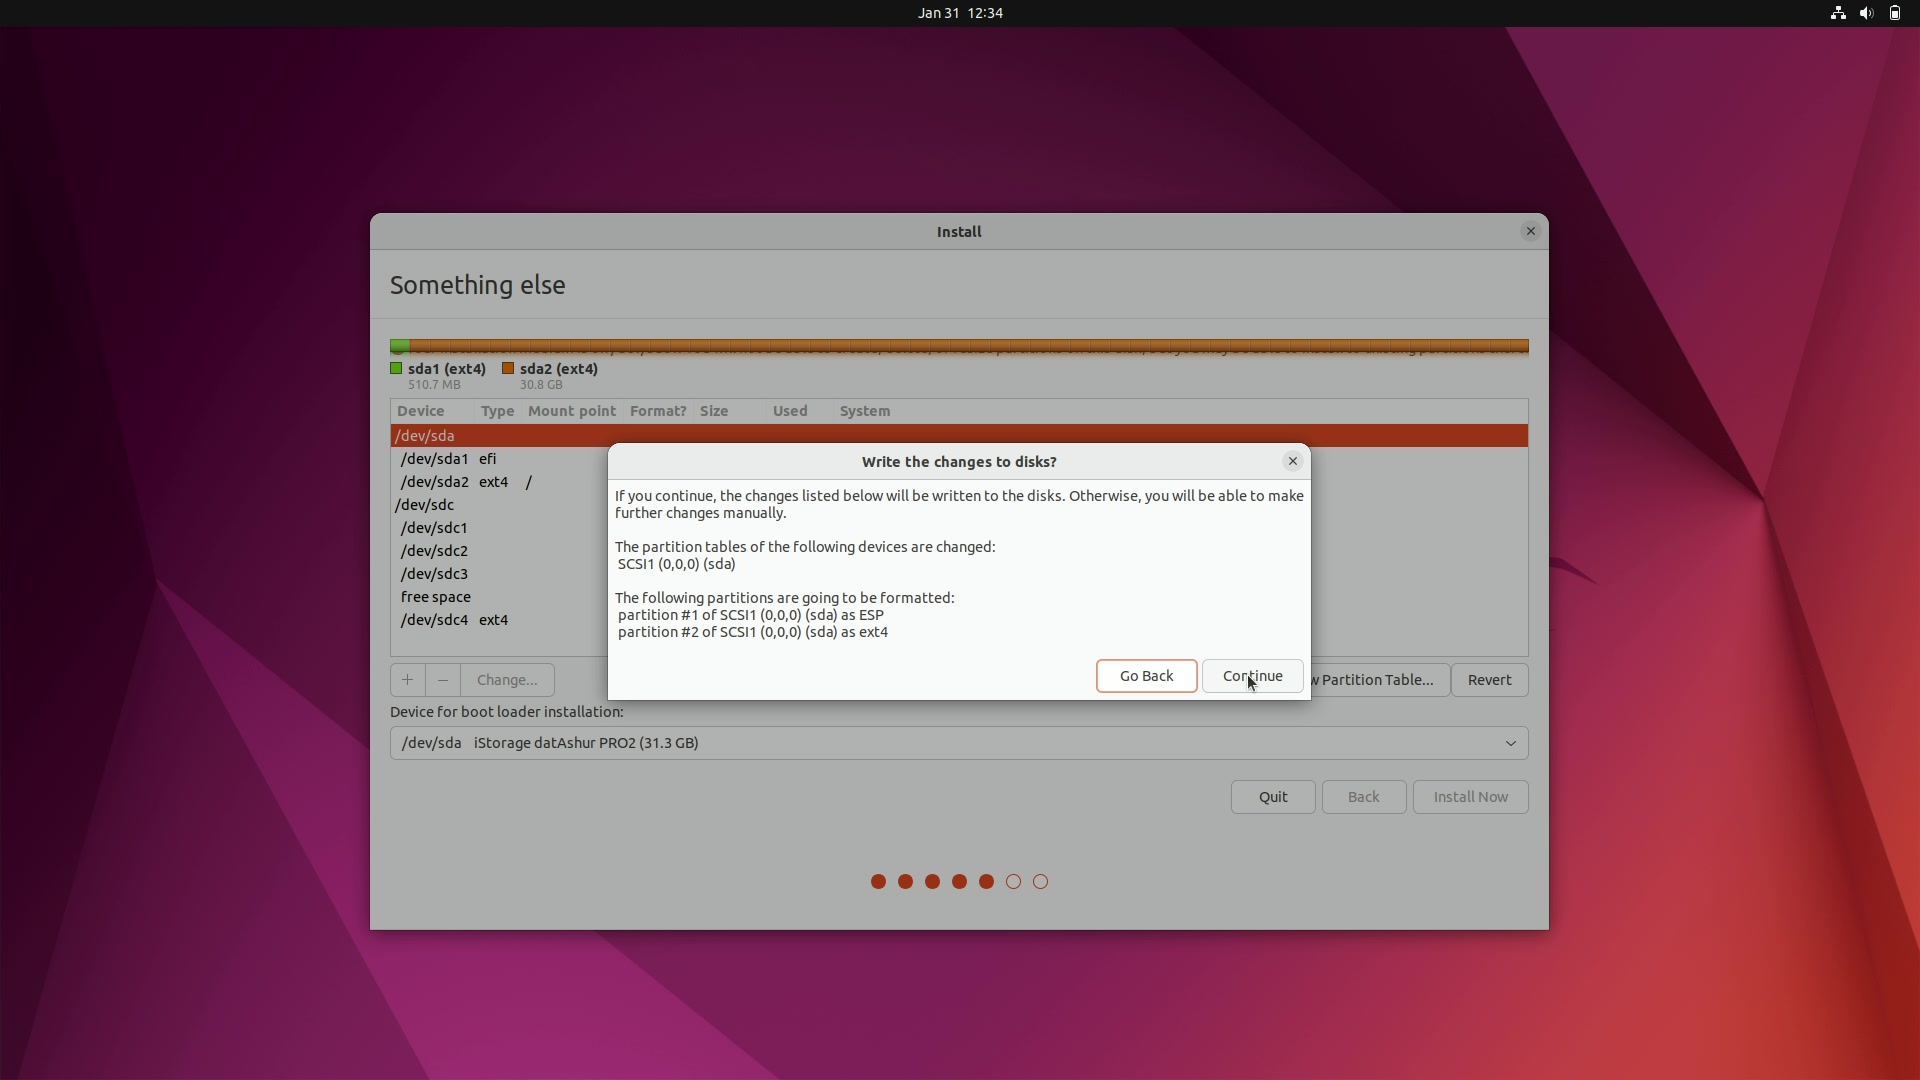
Choose “Device for boot loader installation” and click “Install now”

Confirm changes about to be written to disk and click “Continue”
WARNING: make sure changes only apply to USB flash drive on which Ubuntu for desktops is being installed.
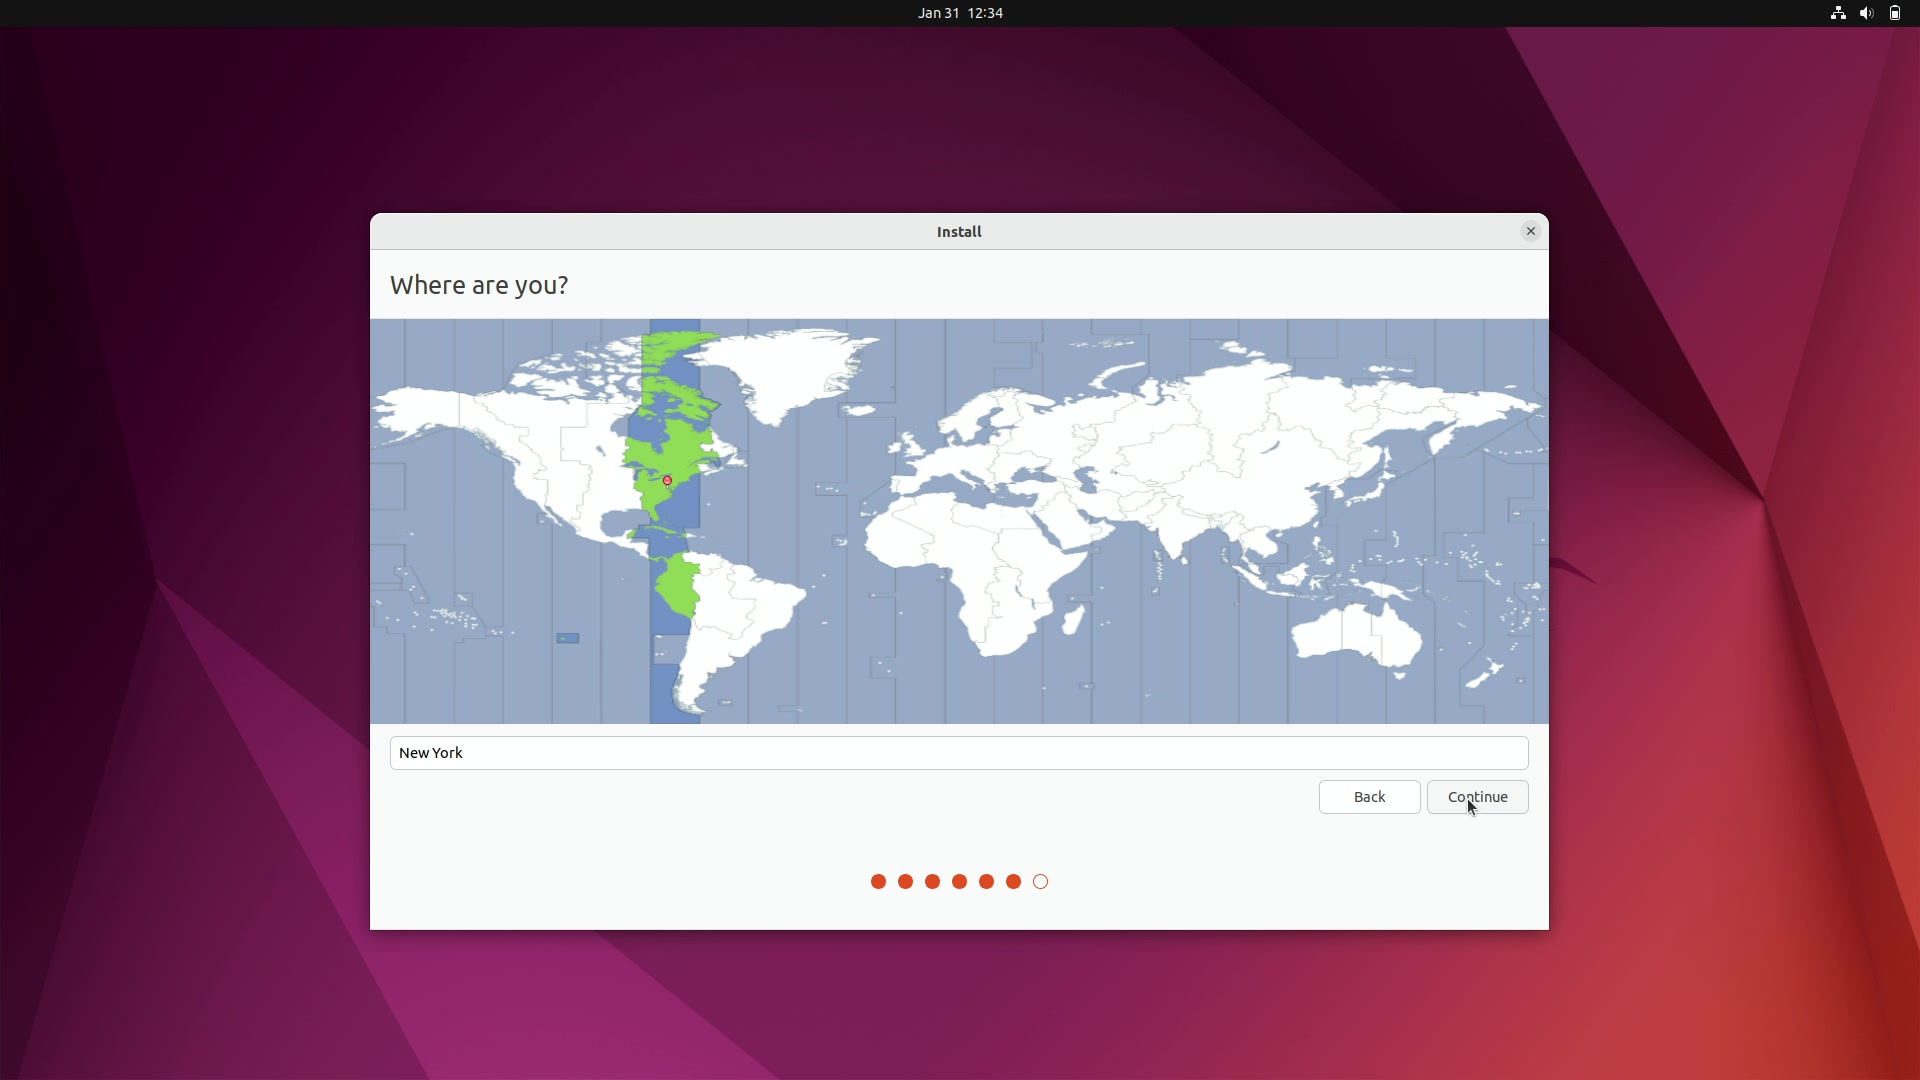
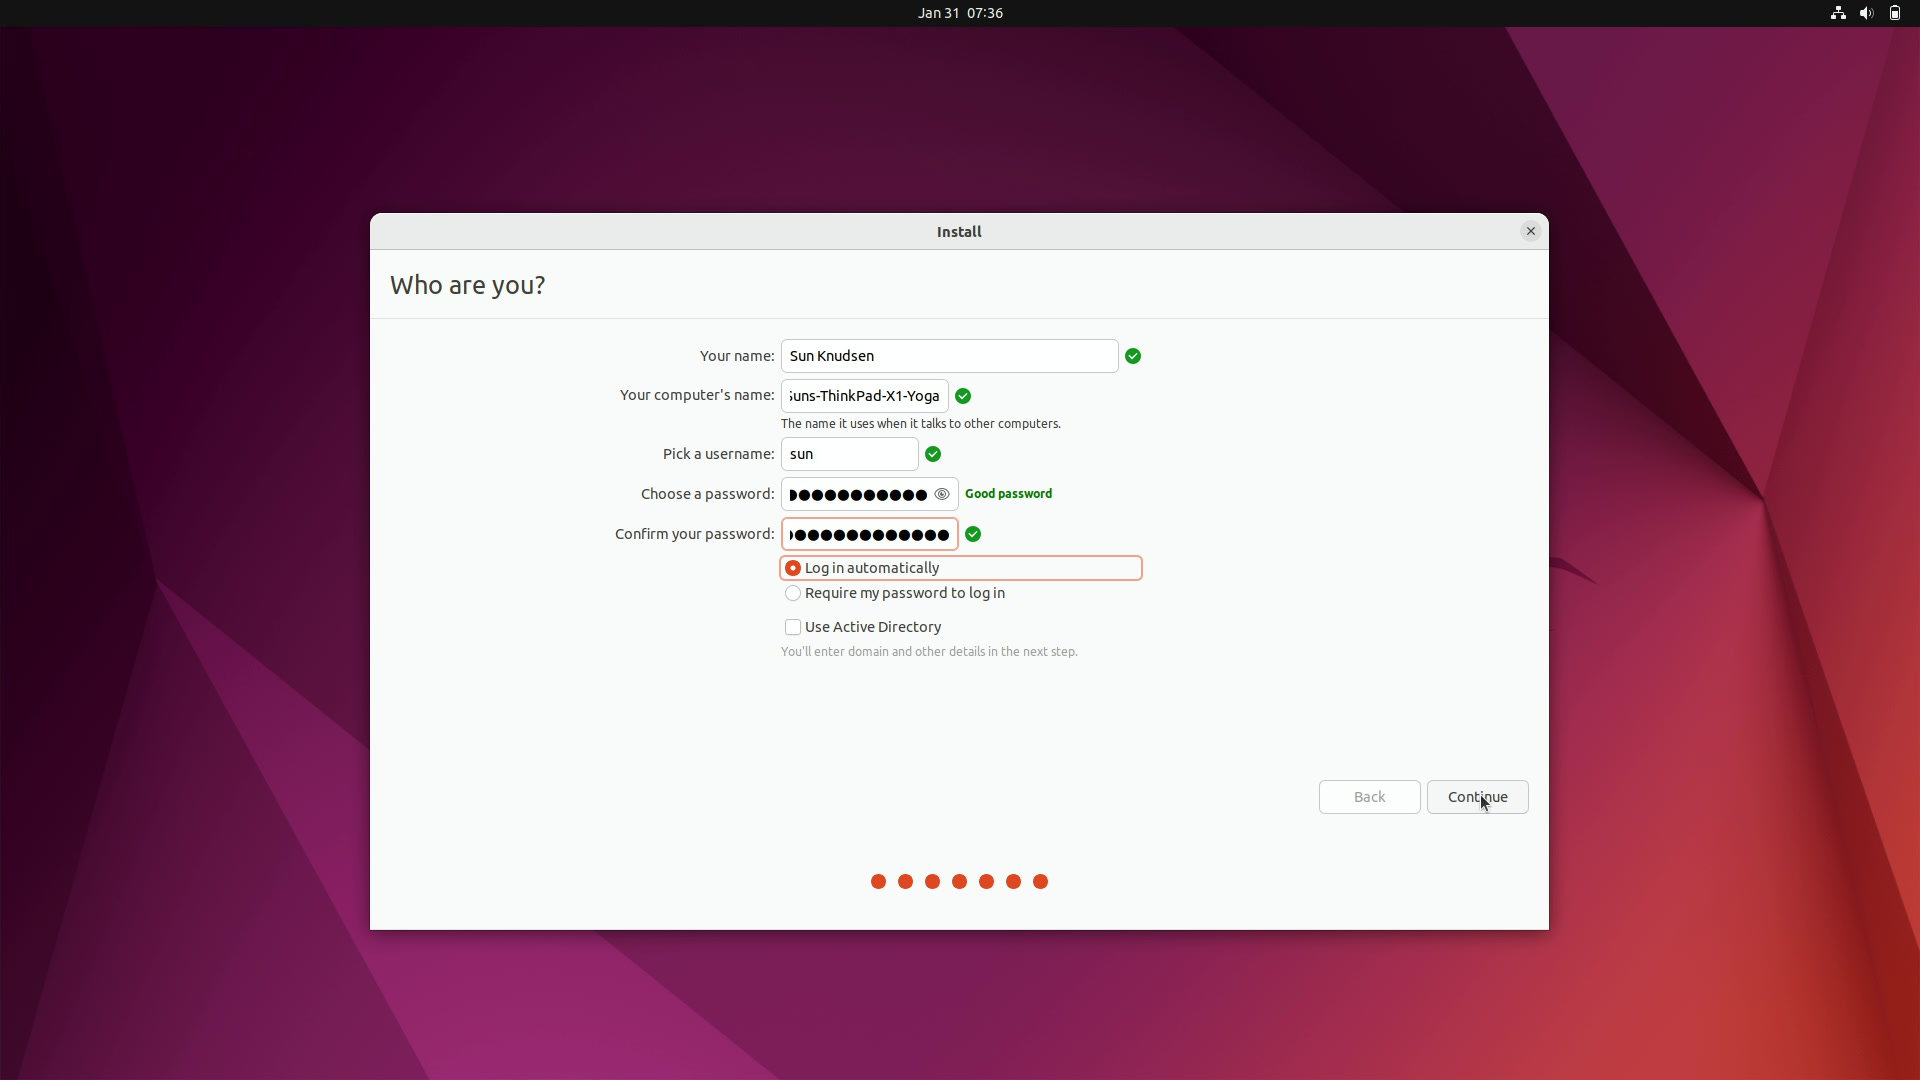
Choose timezone and click “Continue”
Choose credentials, select “Log in automatically” (optional) and click “Continue”
Reboot
Configuration guide
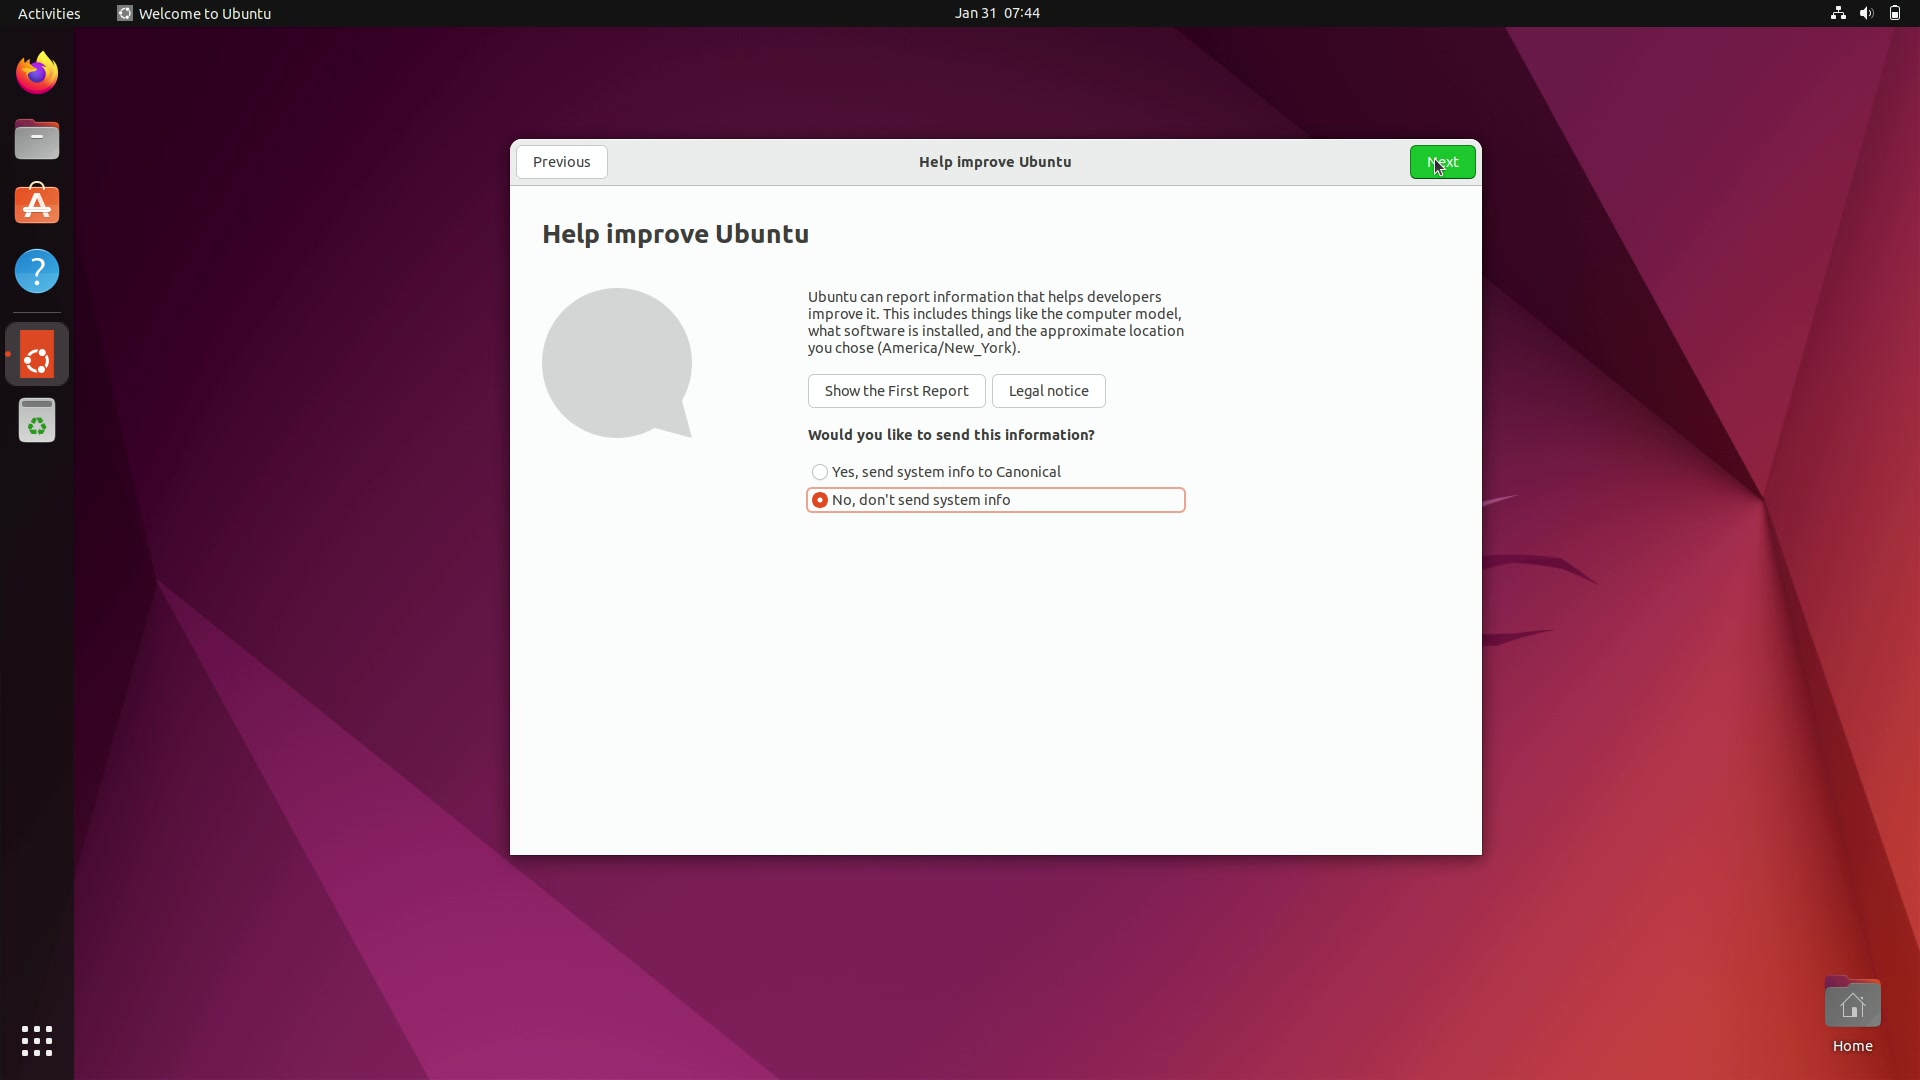
Step 1: disable telemetry
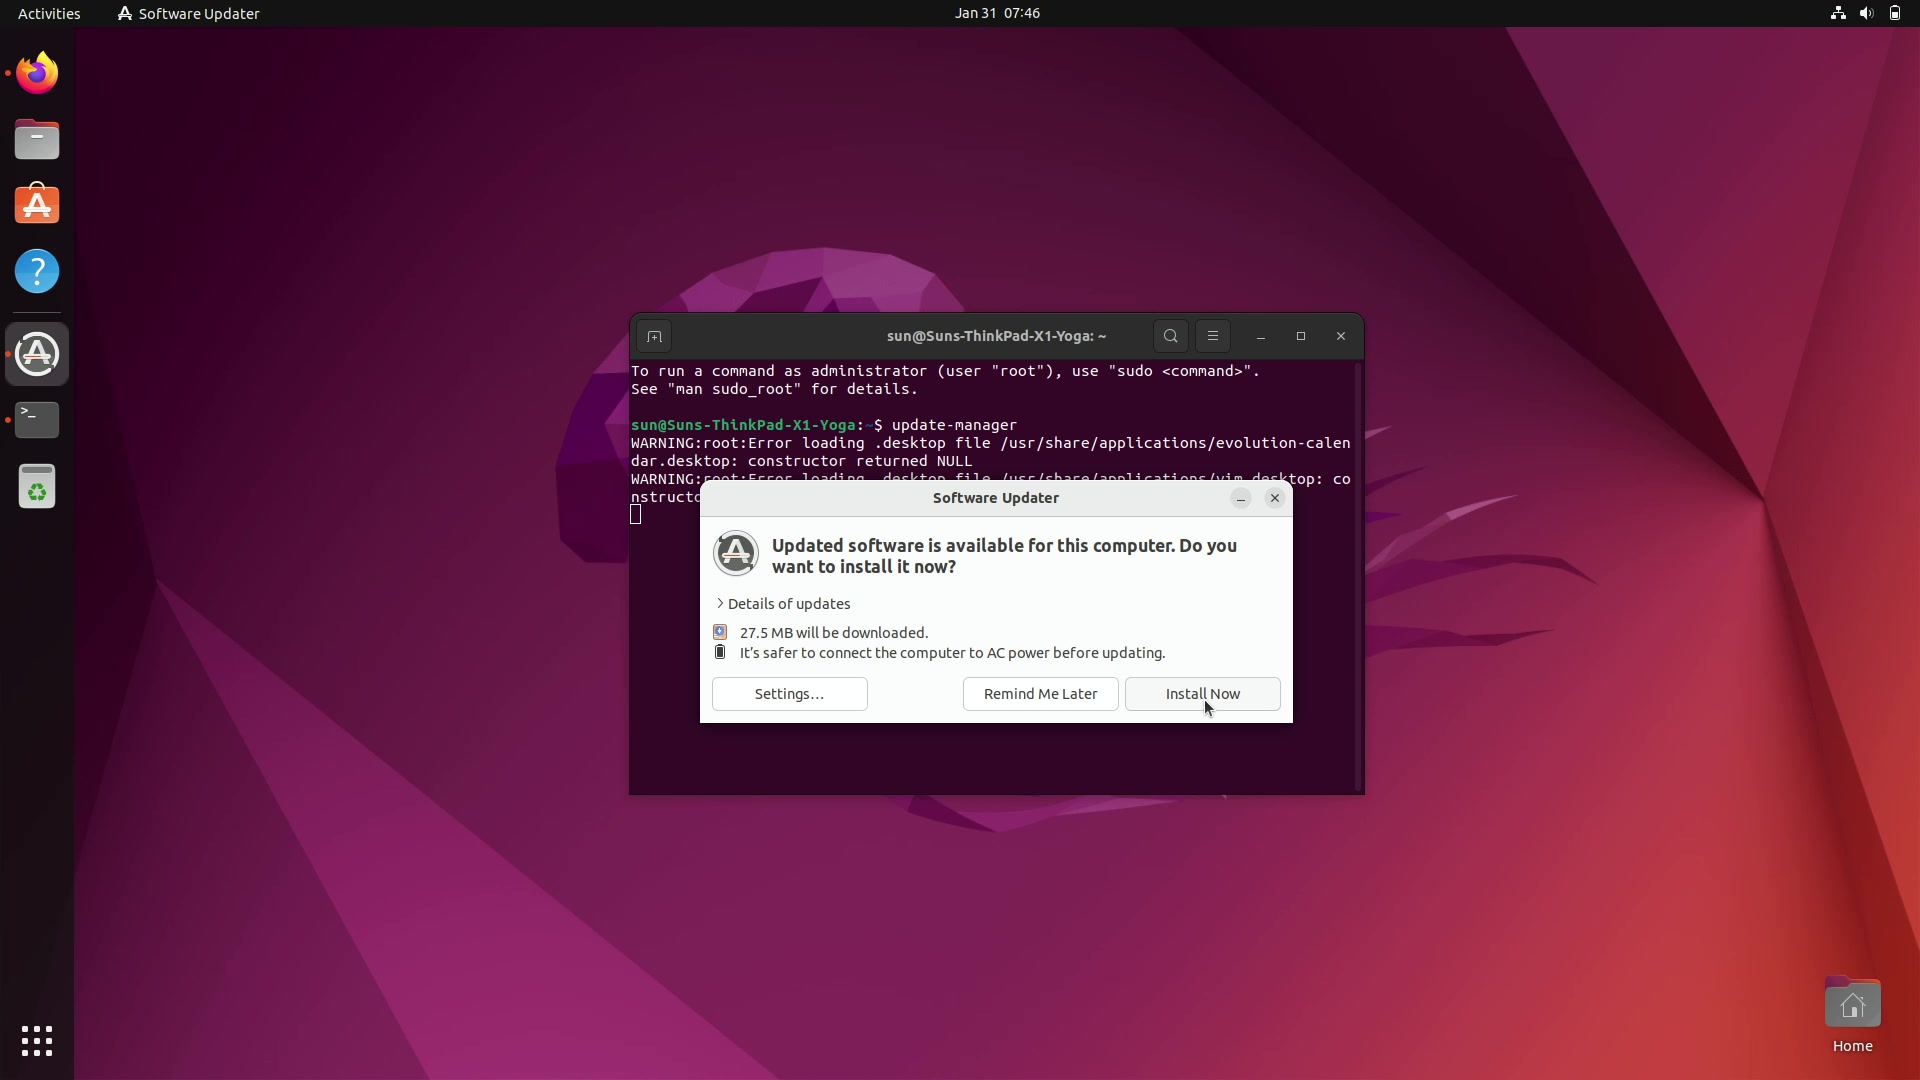
Step 2: run update-manager and click “Install Now”
Step 3: reboot
Step 4 (if applicable): enable “Boot Order Lock”
Step 5 (optional): center new windows
$ gsettings set org.gnome.mutter center-new-windows true
Step 6 (optional): enable dark mode
$ gsettings set org.gnome.desktop.interface color-scheme prefer-dark

$ gsettings set org.gnome.desktop.interface gtk-theme Yaru-dark
Step 7: disable auto-mount
$ gsettings set org.gnome.desktop.media-handling automount false
Step 8: add universe APT repository
$ sudo add-apt-repository -y universe
Step 9: install curl, libfuse2, overlayroot and zbar-tools
$ sudo apt install -y curl libfuse2 overlayroot zbar-tools
Step 10 (if applicable): download Superbacked and allow executing superbacked.AppImage as program
Download Superbacked
Heads-up: replace
ABCDEFGHwith your license code.
Heads-up: for additional security, verify Superbacked download.
$ curl --fail --location --output ~/Desktop/superbacked.AppImage "https://superbacked.com/api/downloads/superbacked-std-x64-latest.AppImage?license=ABCDEFGH"
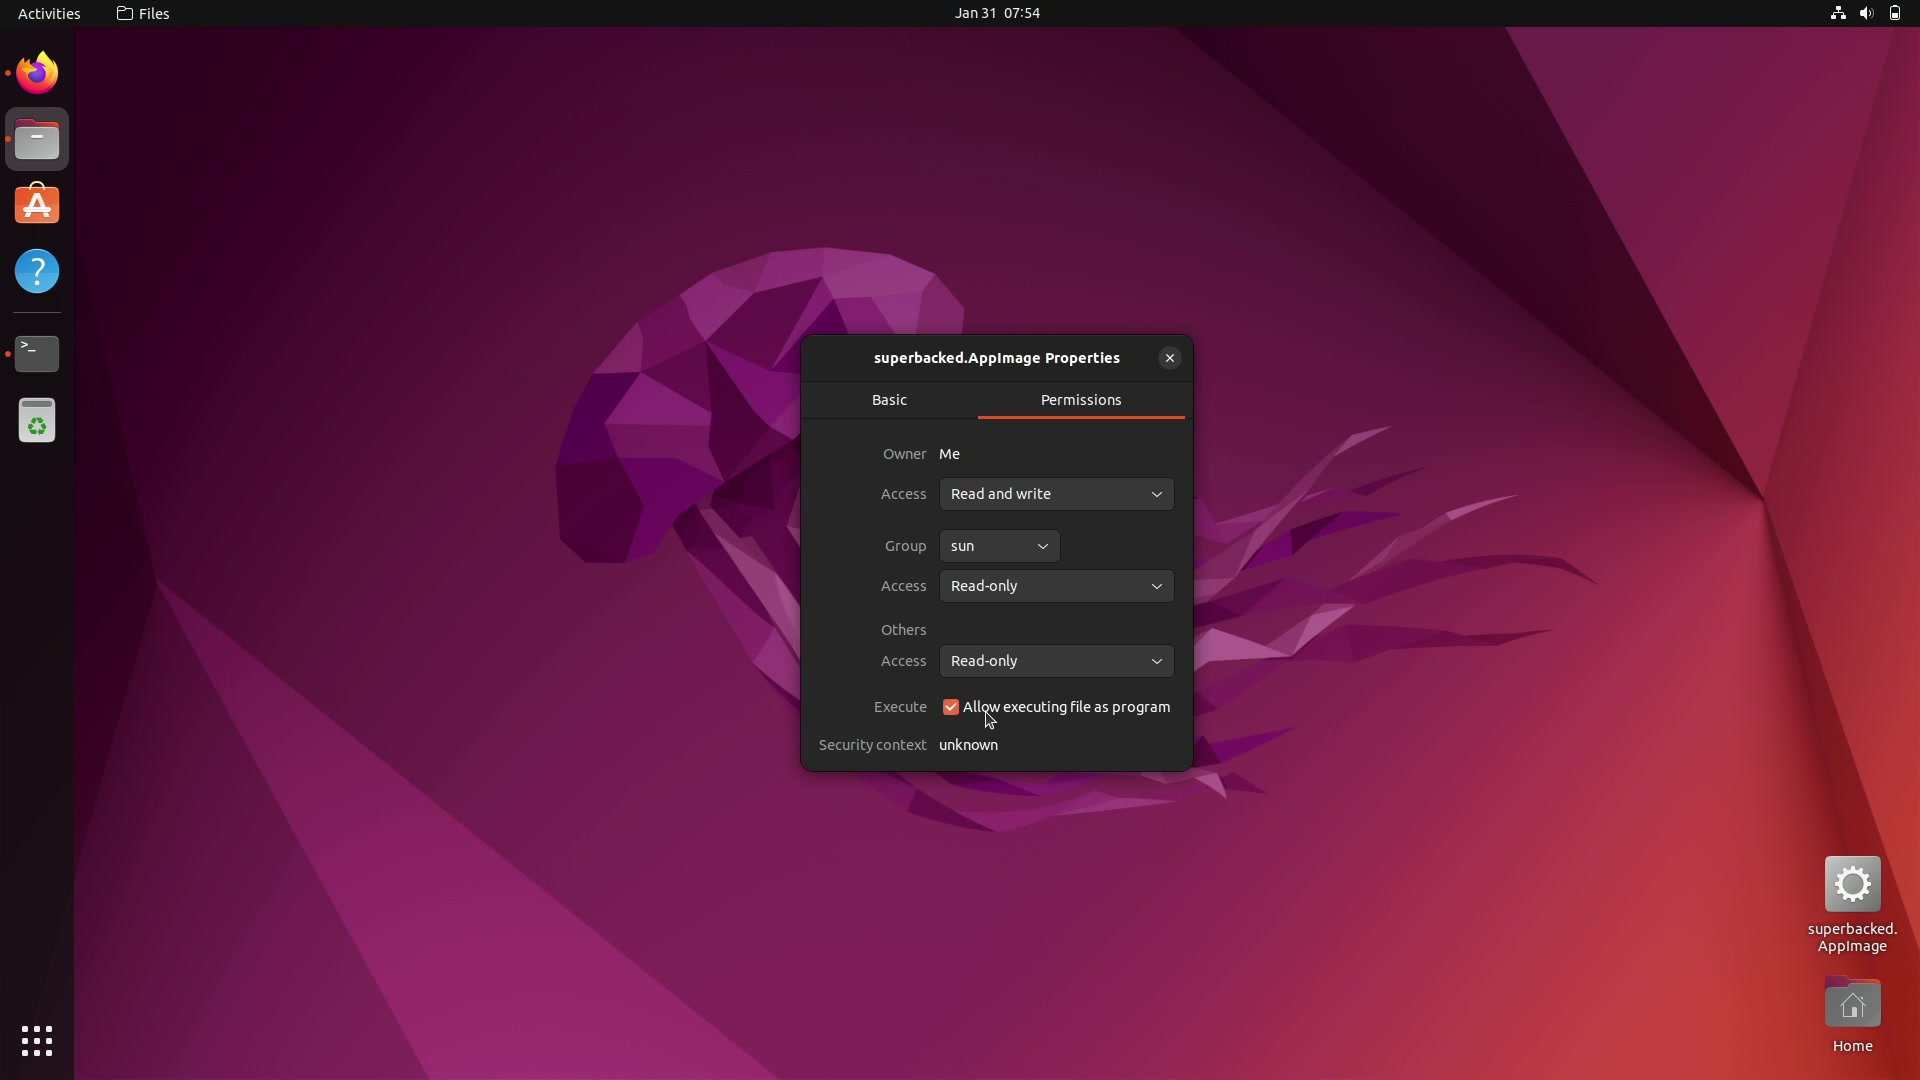
Allow executing superbacked.AppImage as program
Right-click “superbacked.AppImage”, click “Properties”, click “Permissions” and, finally, select “Allow executing file as program”.
Step 11: set ext4 and vfat filesystems to read-only
$ sudo sed -i 's/errors=remount-ro/errors=remount-ro,noload,ro/g' /etc/fstab

$ sudo sed -i 's/umask=0077/umask=0077,ro/g' /etc/fstab
Step 12: disable fsck.repair
$ sudo sed -i 's/quiet splash/quiet splash fsck.repair=no/g' /etc/default/grub

$ sudo update-grub
Step 13: set overlayroot to tmpfs
$ sudo sed -i 's/overlayroot=""/overlayroot="tmpfs"/g' /etc/overlayroot.conf
Step 14: clear Bash history
$ history -cw
Step 15: reboot
Heads-up: filesystem will be mounted as read-only following reboot.
$ sudo systemctl reboot
Step 16: shutdown
Heads-up: filesystem is ready for optional hardware read-only hardening.
$ sudo systemctl poweroff
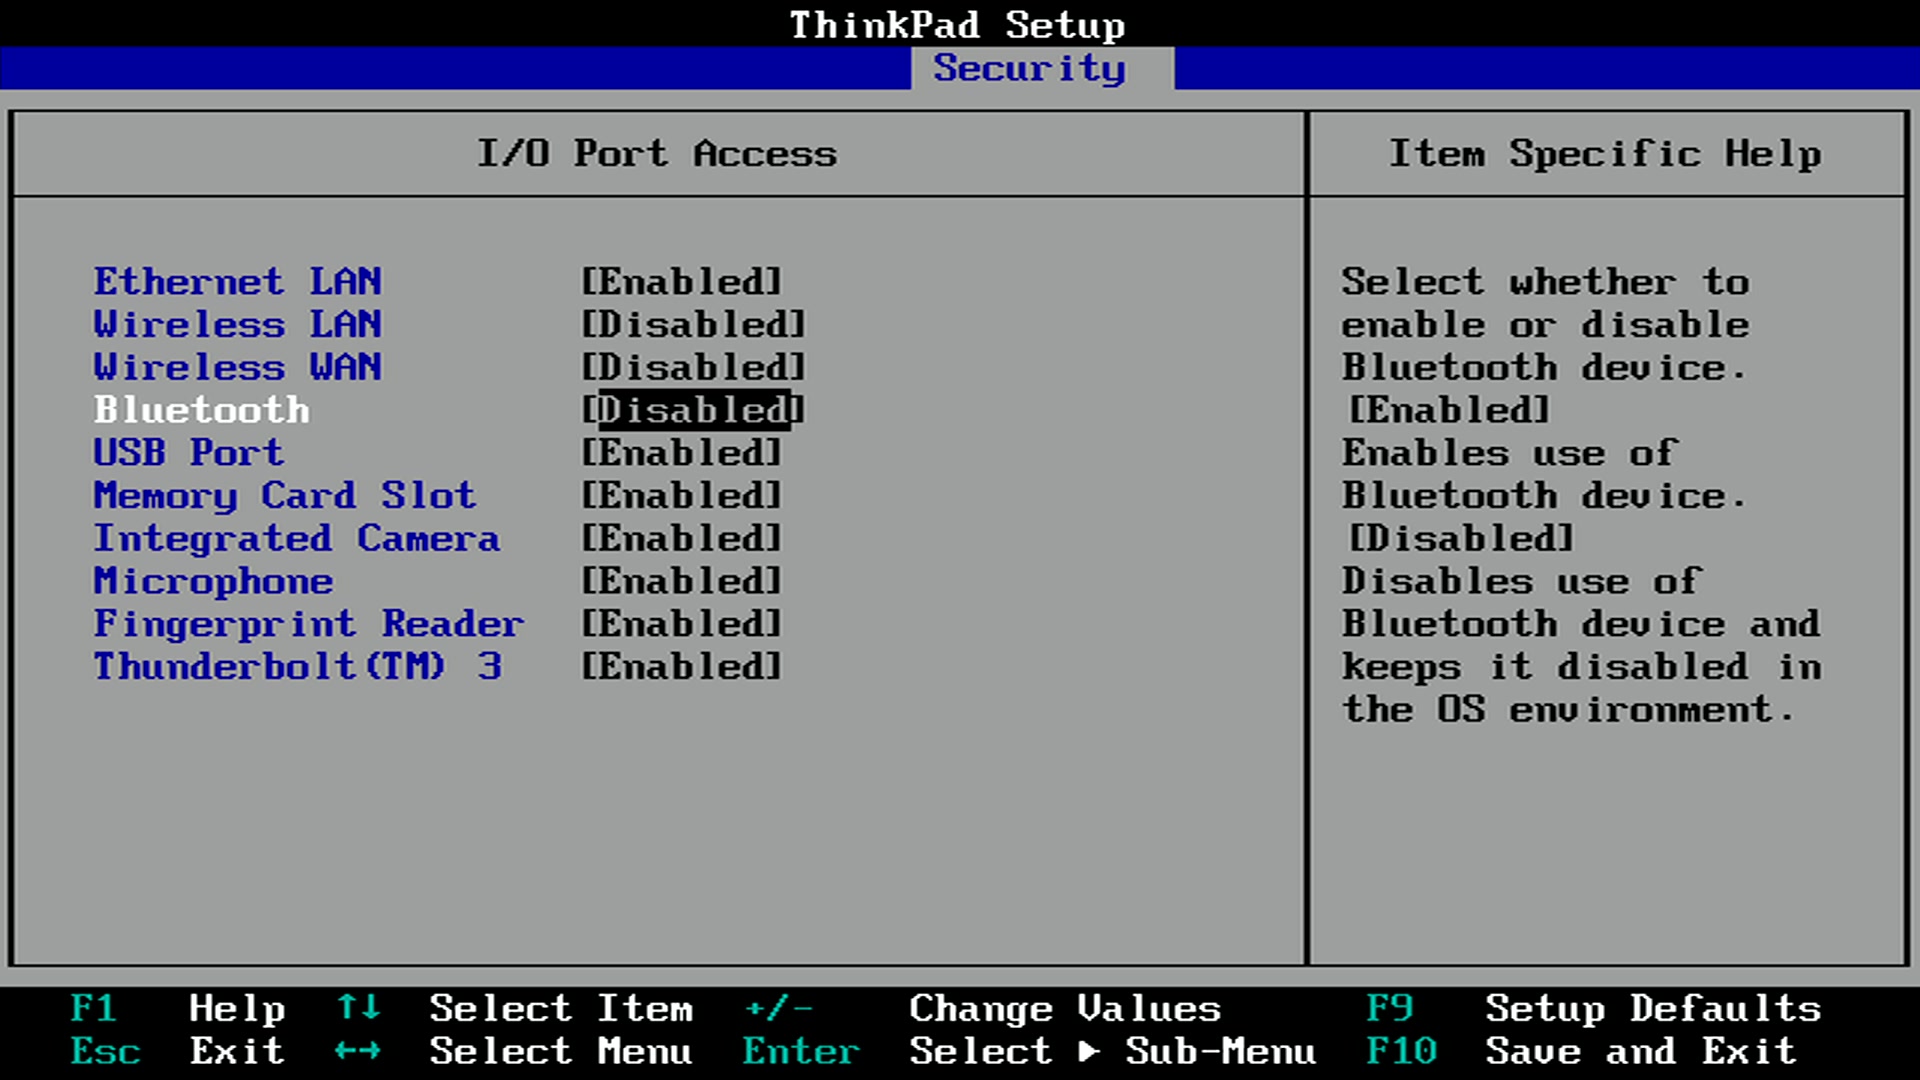
Step 17 (optional): physically remove internal disk(s) and wireless interface(s) if not soldered to motherboard or disable interface(s) using BIOS if soldered
Step 18 (optional): enable datAshur PRO² global read-only (see product documentation for instructions)
👍