| .. | ||
| 177cc163.jpg | ||
| 524d8219.jpg | ||
| bip39.txt | ||
| bip39.txt.sig | ||
| qr-backup.sh | ||
| qr-backup.sh.sig | ||
| qr-clone.sh | ||
| qr-clone.sh.sig | ||
| qr-restore.sh | ||
| qr-restore.sh.sig | ||
| README.md | ||
| secure-erase.sh | ||
| secure-erase.sh.sig | ||
How to create encrypted paper backup
Requirements
- Hardened Raspberry Pi 📦
- Raspberry Pi OS-compatible auto-focus HD USB webcam
- Adafruit PiTFT monitor (optional)
- macOS computer
Caveats
- When copy/pasting commands that start with
$, strip out$as this character is not part of the command - When copy/pasting commands that start with
cat << "EOF", select all lines at once (fromcat << "EOF"toEOFinclusively) as they are part of the same (single) command
Setup guide
Step 1: log in to Raspberry Pi
Replace 10.0.1.248 with IP of Raspberry Pi.
When asked for passphrase, enter passphrase from step 1.
ssh pi@10.0.1.248 -i ~/.ssh/pi
Step 2 (optional): install Adafruit PiTFT monitor drivers and disable console auto login
Install Adafruit PiTFT monitor drivers
Heads-up: don’t worry about
PITFT Failed to disable unit: Unit file fbcp.service does not exist..
Heads-up: when asked to reboot, type
nand press enter.
$ sudo apt update

$ sudo apt install -y git python3-pip

$ sudo pip3 install --upgrade adafruit-python-shell click==7.0

$ git clone https://github.com/adafruit/Raspberry-Pi-Installer-Scripts.git

$ cd Raspberry-Pi-Installer-Scripts

$ sudo python3 adafruit-pitft.py --display=28c --rotation=90 --install-type=console

$ cd ~

$ rm -fr Raspberry-Pi-Installer-Scripts
Disable console auto login
Heads-up: when asked to reboot, select “No” and press enter.
sudo raspi-config
Select “System Options”, then “Boot / Auto Login”, then “Console” and finally “Finish”.
Step 3: configure keyboard keymap
Heads-up: following instructions are for Raspberry Pi keyboard (US model).
Heads-up: when asked to reboot, select “No” and press enter.
sudo raspi-config
Select “Localisation Options”, then “Keyboard”, then “Generic 105-key PC (intl.)”, then “Other”, then “English (US)”, then “English (US)”, then “The default for the keyboard layout”, then “No compose key” and finally “Finish”.
Step 4: install dependencies
$ sudo apt update

$ sudo apt install -y fim imagemagick zbar-tools

$ pip3 install pillow qrcode --user

$ echo -e "export GPG_TTY=\"\$(tty)\"\nexport PATH=\$PATH:/home/pi/.local/bin" >> ~/.bashrc

$ source ~/.bashrc
Step 5: download bip39.txt (PGP signature, PGP public key)
sudo curl -o /usr/local/sbin/bip39.txt https://sunknudsen.com/static/media/privacy-guides/how-to-create-encrypted-paper-backup/bip39.txt
Step 6: download qr-backup.sh (PGP signature, PGP public key)
sudo curl -o /usr/local/sbin/qr-backup.sh https://sunknudsen.com/static/media/privacy-guides/how-to-create-encrypted-paper-backup/qr-backup.sh
sudo chmod +x /usr/local/sbin/qr-backup.sh
Step 7: download qr-restore.sh (PGP signature, PGP public key)
sudo curl -o /usr/local/sbin/qr-restore.sh https://sunknudsen.com/static/media/privacy-guides/how-to-create-encrypted-paper-backup/qr-restore.sh
sudo chmod +x /usr/local/sbin/qr-restore.sh
Step 8: download qr-clone.sh (PGP signature, PGP public key)
sudo curl -o /usr/local/sbin/qr-clone.sh https://sunknudsen.com/static/media/privacy-guides/how-to-create-encrypted-paper-backup/qr-clone.sh
sudo chmod +x /usr/local/sbin/qr-clone.sh
Step 9: download secure-erase.sh (PGP signature, PGP public key)
sudo curl -o /usr/local/sbin/secure-erase.sh https://sunknudsen.com/static/media/privacy-guides/how-to-create-encrypted-paper-backup/secure-erase.sh
sudo chmod +x /usr/local/sbin/secure-erase.sh
Step 10: make filesystem read-only
Heads-up: shout-out to Nico Kaiser for his amazing guide on how to configure a read-only Raspberry Pi.
Disable swap
sudo dphys-swapfile swapoff
sudo dphys-swapfile uninstall
sudo systemctl disable dphys-swapfile.service
Remove dphys-swapfile fake-hwclock and logrotate
sudo apt remove -y --purge dphys-swapfile fake-hwclock logrotate
Link /etc/console-setup to /tmp/console-setup
sudo mv /etc/console-setup /tmp/console-setup
sudo ln -s /tmp/console-setup /etc/console-setup
Link /etc/resolv.conf to /tmp/resolv.conf
sudo mv /etc/resolv.conf /tmp/resolv.conf
sudo ln -s /tmp/resolv.conf /etc/resolv.conf
Link /home/pi/.gnupg to /tmp/pi/.gnupg
mkdir -m 700 /tmp/pi
mv /home/pi/.gnupg /tmp/pi/.gnupg
ln -s /tmp/pi/.gnupg /home/pi/.gnupg
Enable tmp.mount
echo -e "D /tmp 1777 root root -\nD /tmp/console-setup 1700 root root -\nD /tmp/pi 1700 pi pi -\nD /tmp/pi/.gnupg 1700 pi pi -\nD /var/tmp 1777 root root -" | sudo tee /etc/tmpfiles.d/tmp.conf
sudo cp /usr/share/systemd/tmp.mount /etc/systemd/system/
sudo systemctl enable tmp.mount
Edit /boot/cmdline.txt
sudo cp /boot/cmdline.txt /boot/cmdline.txt.backup
sudo sed -i 's/fsck.repair=yes/fsck.repair=skip/' /boot/cmdline.txt
sudo sed -i '$ s/$/ fastboot noswap ro systemd.volatile=state/' /boot/cmdline.txt
Edit /etc/fstab
sudo cp /etc/fstab /etc/fstab.backup
sudo sed -i -e 's/vfat\s*defaults\s/vfat defaults,ro/' /etc/fstab
sudo sed -i -e 's/ext4\s*defaults,noatime\s/ext4 defaults,noatime,ro,noload/' /etc/fstab
Disable /boot macOS fseventsd logging and Spotlight indexing
sudo touch /boot/.metadata_never_index
sudo mkdir -p /boot/.fseventsd
sudo touch /boot/.fseventsd/no_log
Step 11: disable Wi-Fi (if not using ethernet) or disconnect ethernet cable
echo "dtoverlay=disable-wifi" | sudo tee -a /boot/config.txt
Step 12: reboot
sudo systemctl reboot
WARNING: DO NOT CONNECT RASPBERRY PI TO NETWORK EVER AGAIN WITHOUT REINSTALLING RASPBERRY PI OS FIRST (DEVICE IS NOW "READ-ONLY" AND “COLD”).
Step 13 (optional): compute SHA512 hash of SD card and store in password manager (on macOS)
Run diskutil list to find disk ID of SD card with “Raspberry Pi OS Lite” installed (disk2 in the following example).
$ diskutil list
/dev/disk0 (internal, physical):
   #:                       TYPE NAME                    SIZE       IDENTIFIER
   0:      GUID_partition_scheme                        *500.3 GB   disk0
   1:                        EFI EFI                     209.7 MB   disk0s1
   2:                 Apple_APFS Container disk1         500.1 GB   disk0s2

/dev/disk1 (synthesized):
   #:                       TYPE NAME                    SIZE       IDENTIFIER
   0:      APFS Container Scheme -                      +500.1 GB   disk1
                                 Physical Store disk0s2
   1:                APFS Volume Macintosh HD - Data     340.9 GB   disk1s1
   2:                APFS Volume Preboot                 85.9 MB    disk1s2
   3:                APFS Volume Recovery                529.0 MB   disk1s3
   4:                APFS Volume VM                      3.2 GB     disk1s4
   5:                APFS Volume Macintosh HD            11.3 GB    disk1s5

/dev/disk2 (internal, physical):
   #:                       TYPE NAME                    SIZE       IDENTIFIER
   0:     FDisk_partition_scheme                        *15.9 GB    disk2
   1:             Windows_FAT_32 boot                    268.4 MB   disk2s1
   2:                      Linux                         15.7 GB    disk2s2

$ sudo diskutil unmountDisk /dev/diskn (if previous step fails)
Unmount of all volumes on disk2 was successful

$ sudo openssl dgst -sha512 /dev/rdisk2
SHA512(/dev/rdisk3)= 353af7e9bd78d7d98875f0e2a58da3d7cdfc494f2ab5474b2ab4a8fd212ac6a37c996d54f6c650838adb61e4b30801bcf1150081f6dbb51998cf33a74fa7f0fe
👍
Usage guide
Create encrypted paper backup
Heads-up: use
--bip39to test secret against BIP39 word list.
$ qr-backup.sh --help
Usage: qr-backup.sh [options]
Options:
--bip39 test secret against BIP39 word list
-h, --help display help for command
$ qr-backup.sh
Format USB flash drive? (y or n)?
y
mkfs.fat 4.1 (2017-01-24)
Type secret and press enter (again)
this is a test yo
-----BEGIN PGP MESSAGE-----
jA0ECQMKmFCBKHBUX8z/0kUBxi8eP7LRqP0WgOF+VgTMYuvix7AMxWR/TRM+zQk/
i9JLr52Odmxv23jEC/KfAUdigAqhs3/GJRtwWuC2IR5NzfBNvXM=
=xkQH
-----END PGP MESSAGE-----
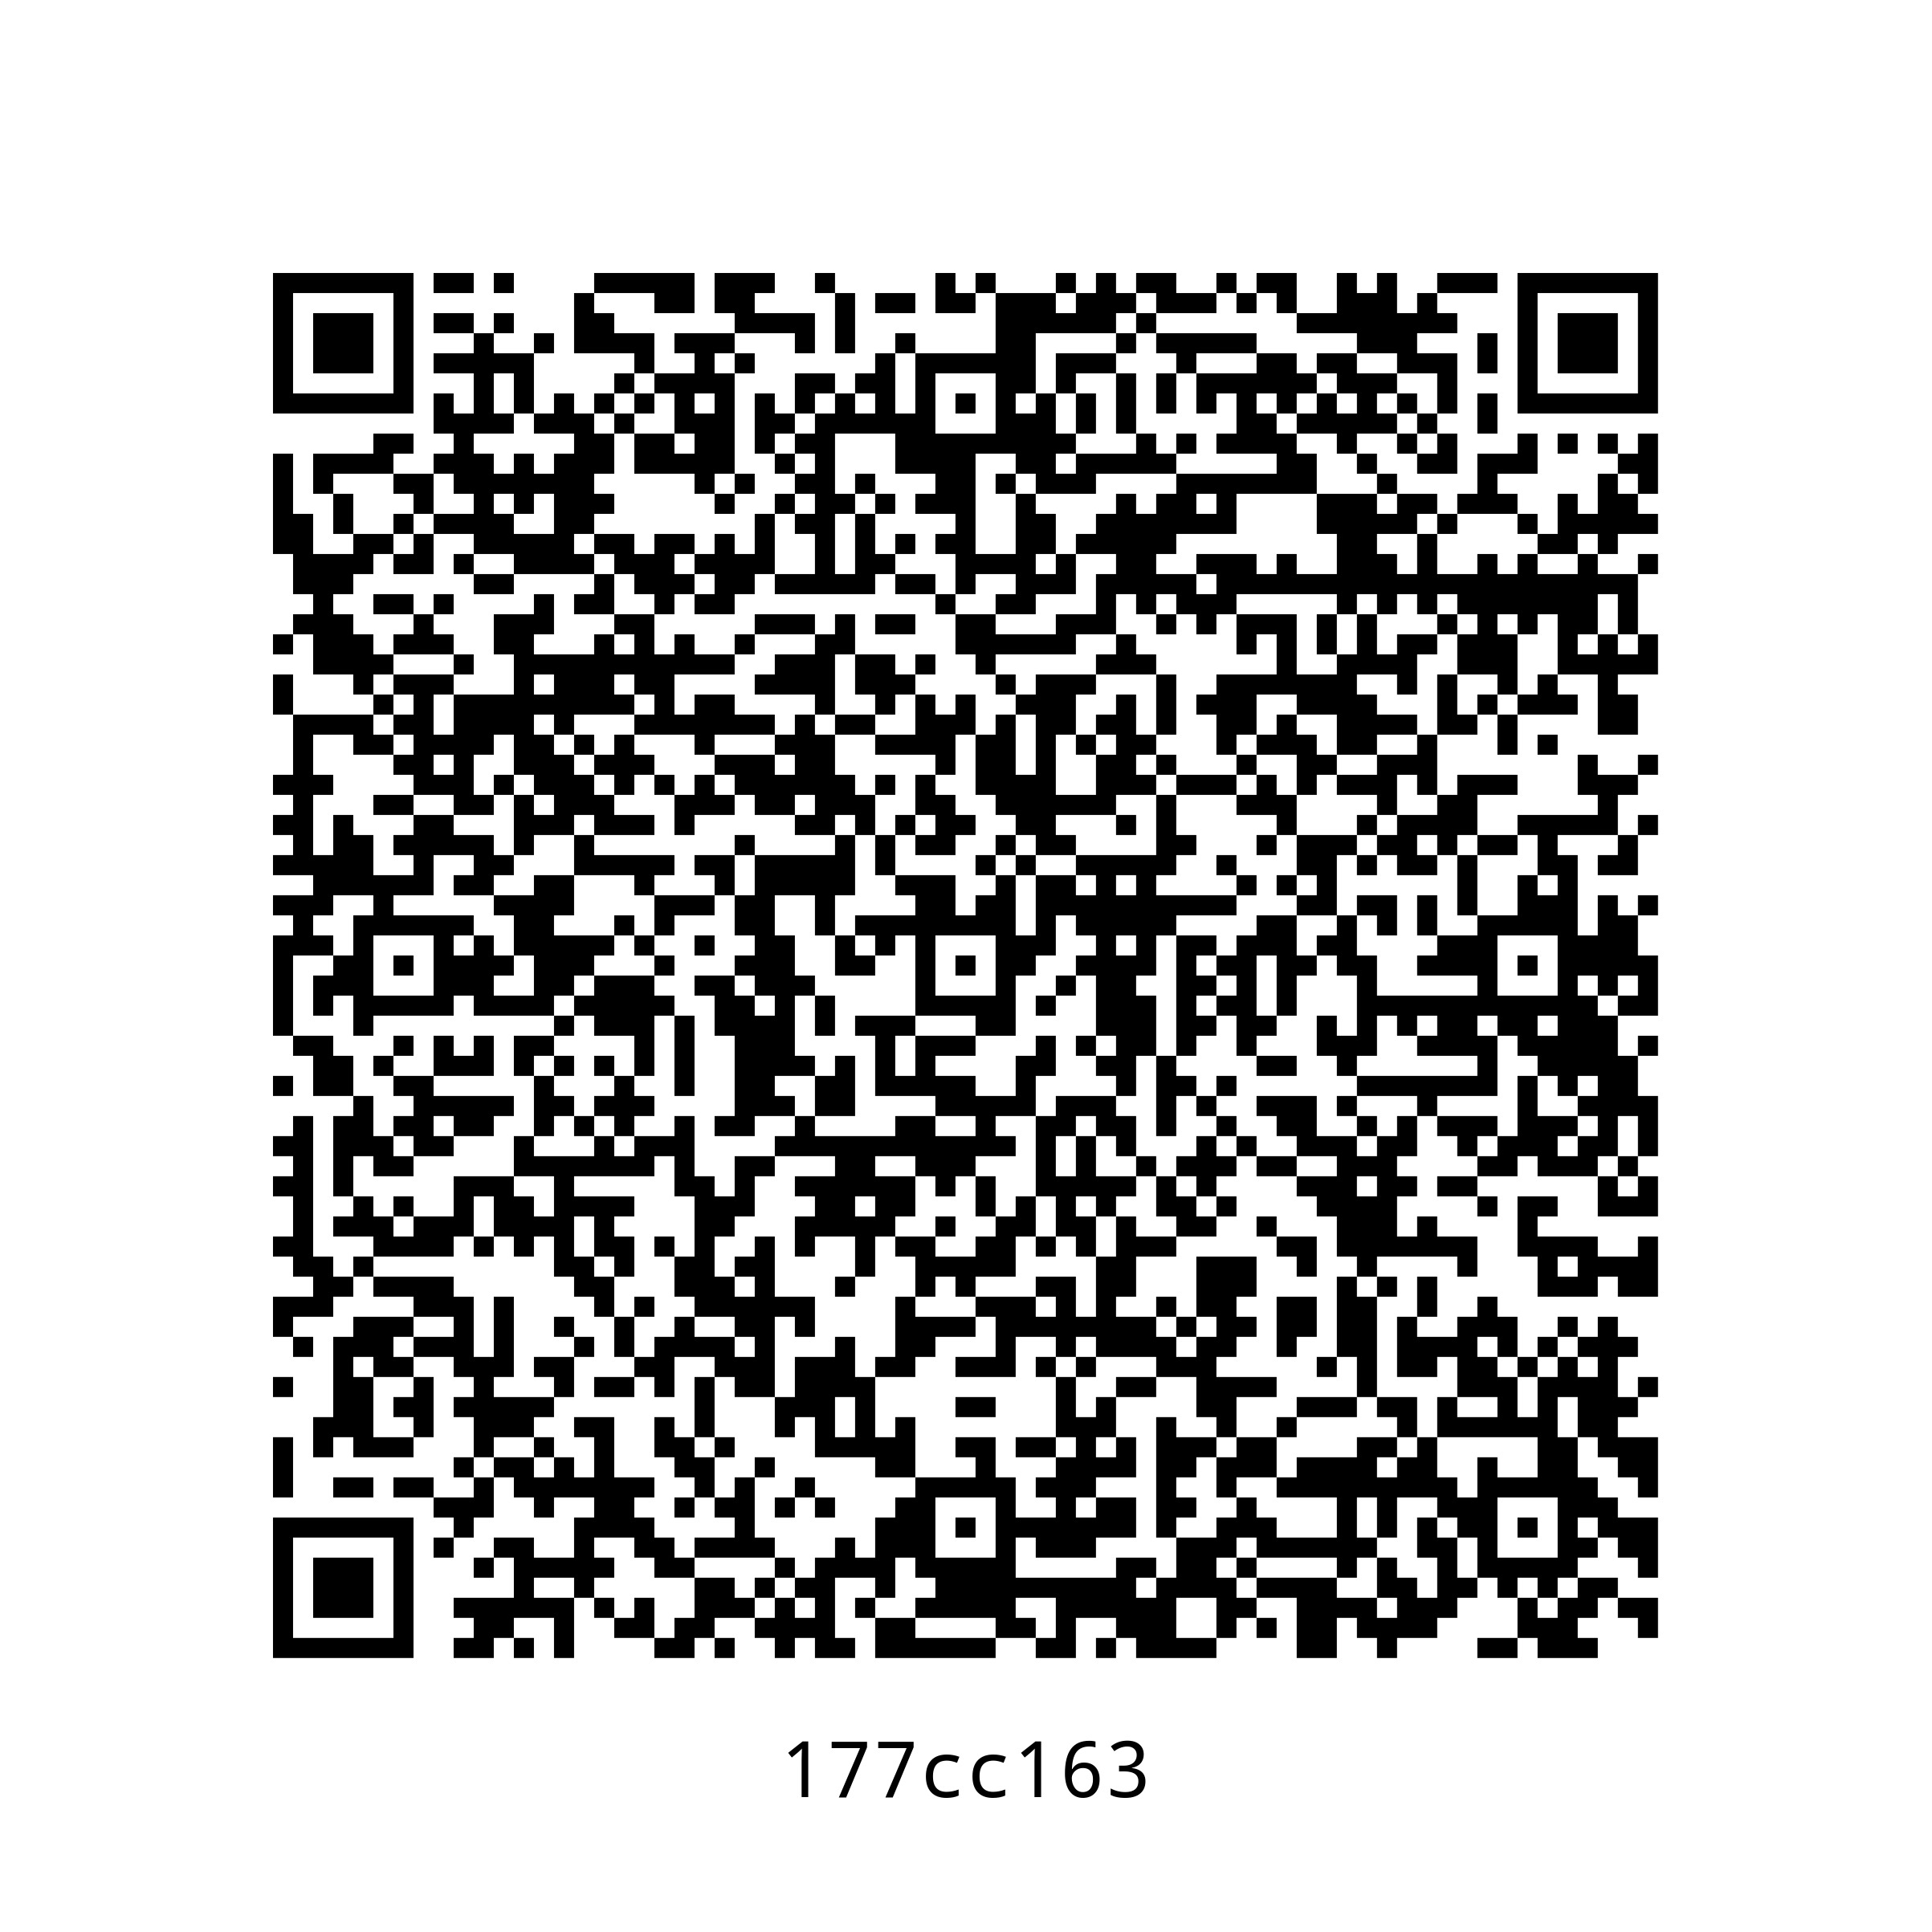
SHA512 hash: 177cc163d89498b859ce06f6f2ac1cd2f9f493b848cdf08746bfb2f4a8bf958ebb45eb70f8f20141c12aa65387ee0545b7c0757cf8d6c808e2fa449fad0e986a
SHA512 short hash: 177cc163
Show SHA512 hash as QR code? (y or n)?
n
Done
The following image is now available on USB flash drive.
Restore encrypted paper backup
Heads-up: use
--word-listto split secret into word list.
$ qr-restore.sh
Usage: qr-restore.sh [options]

Options:
  --word-list    split secret into word list
  -h, --help     display help for command

$ qr-restore.sh
Scan QR code…
-----BEGIN PGP MESSAGE-----

jA0ECQMKmFCBKHBUX8z/0kUBxi8eP7LRqP0WgOF+VgTMYuvix7AMxWR/TRM+zQk/
i9JLr52Odmxv23jEC/KfAUdigAqhs3/GJRtwWuC2IR5NzfBNvXM=
=xkQH
-----END PGP MESSAGE-----
SHA512 hash: 177cc163d89498b859ce06f6f2ac1cd2f9f493b848cdf08746bfb2f4a8bf958ebb45eb70f8f20141c12aa65387ee0545b7c0757cf8d6c808e2fa449fad0e986a
SHA512 short hash: 177cc163
Show secret? (y or n)?
y
gpg: AES256 encrypted data
gpg: encrypted with 1 passphrase
Secret: this is a test yo
Done
Clone encrypted paper backup
$ qr-clone.sh --help
Usage: qr-clone.sh [options]
Options:
-h, --help display help for command
$ qr-clone.sh
Scan QR code…
-----BEGIN PGP MESSAGE-----
jA0ECQMKmFCBKHBUX8z/0kUBxi8eP7LRqP0WgOF+VgTMYuvix7AMxWR/TRM+zQk/
i9JLr52Odmxv23jEC/KfAUdigAqhs3/GJRtwWuC2IR5NzfBNvXM=
=xkQH
-----END PGP MESSAGE-----
SHA512 hash: 177cc163d89498b859ce06f6f2ac1cd2f9f493b848cdf08746bfb2f4a8bf958ebb45eb70f8f20141c12aa65387ee0545b7c0757cf8d6c808e2fa449fad0e986a
SHA512 short hash: 177cc163
Show secret? (y or n)?
y
gpg: AES256 encrypted data
gpg: encrypted with 1 passphrase
Secret: this is a test yo
Done
Backing up…
Format USB flash drive? (y or n)?
y
mkfs.fat 4.1 (2017-01-24)
-----BEGIN PGP MESSAGE-----
jA0ECQMKAWdJZylXXDf/0kUB/rRdX1+5OYVh7iwzM0julwIfDe57slc6LeGeRtDa
KfY4QZkCrseEoZdSZd5mGYQ0ItW9exfBiXN5AU+rbEmzF6VuEWY=
=ul1g
-----END PGP MESSAGE-----
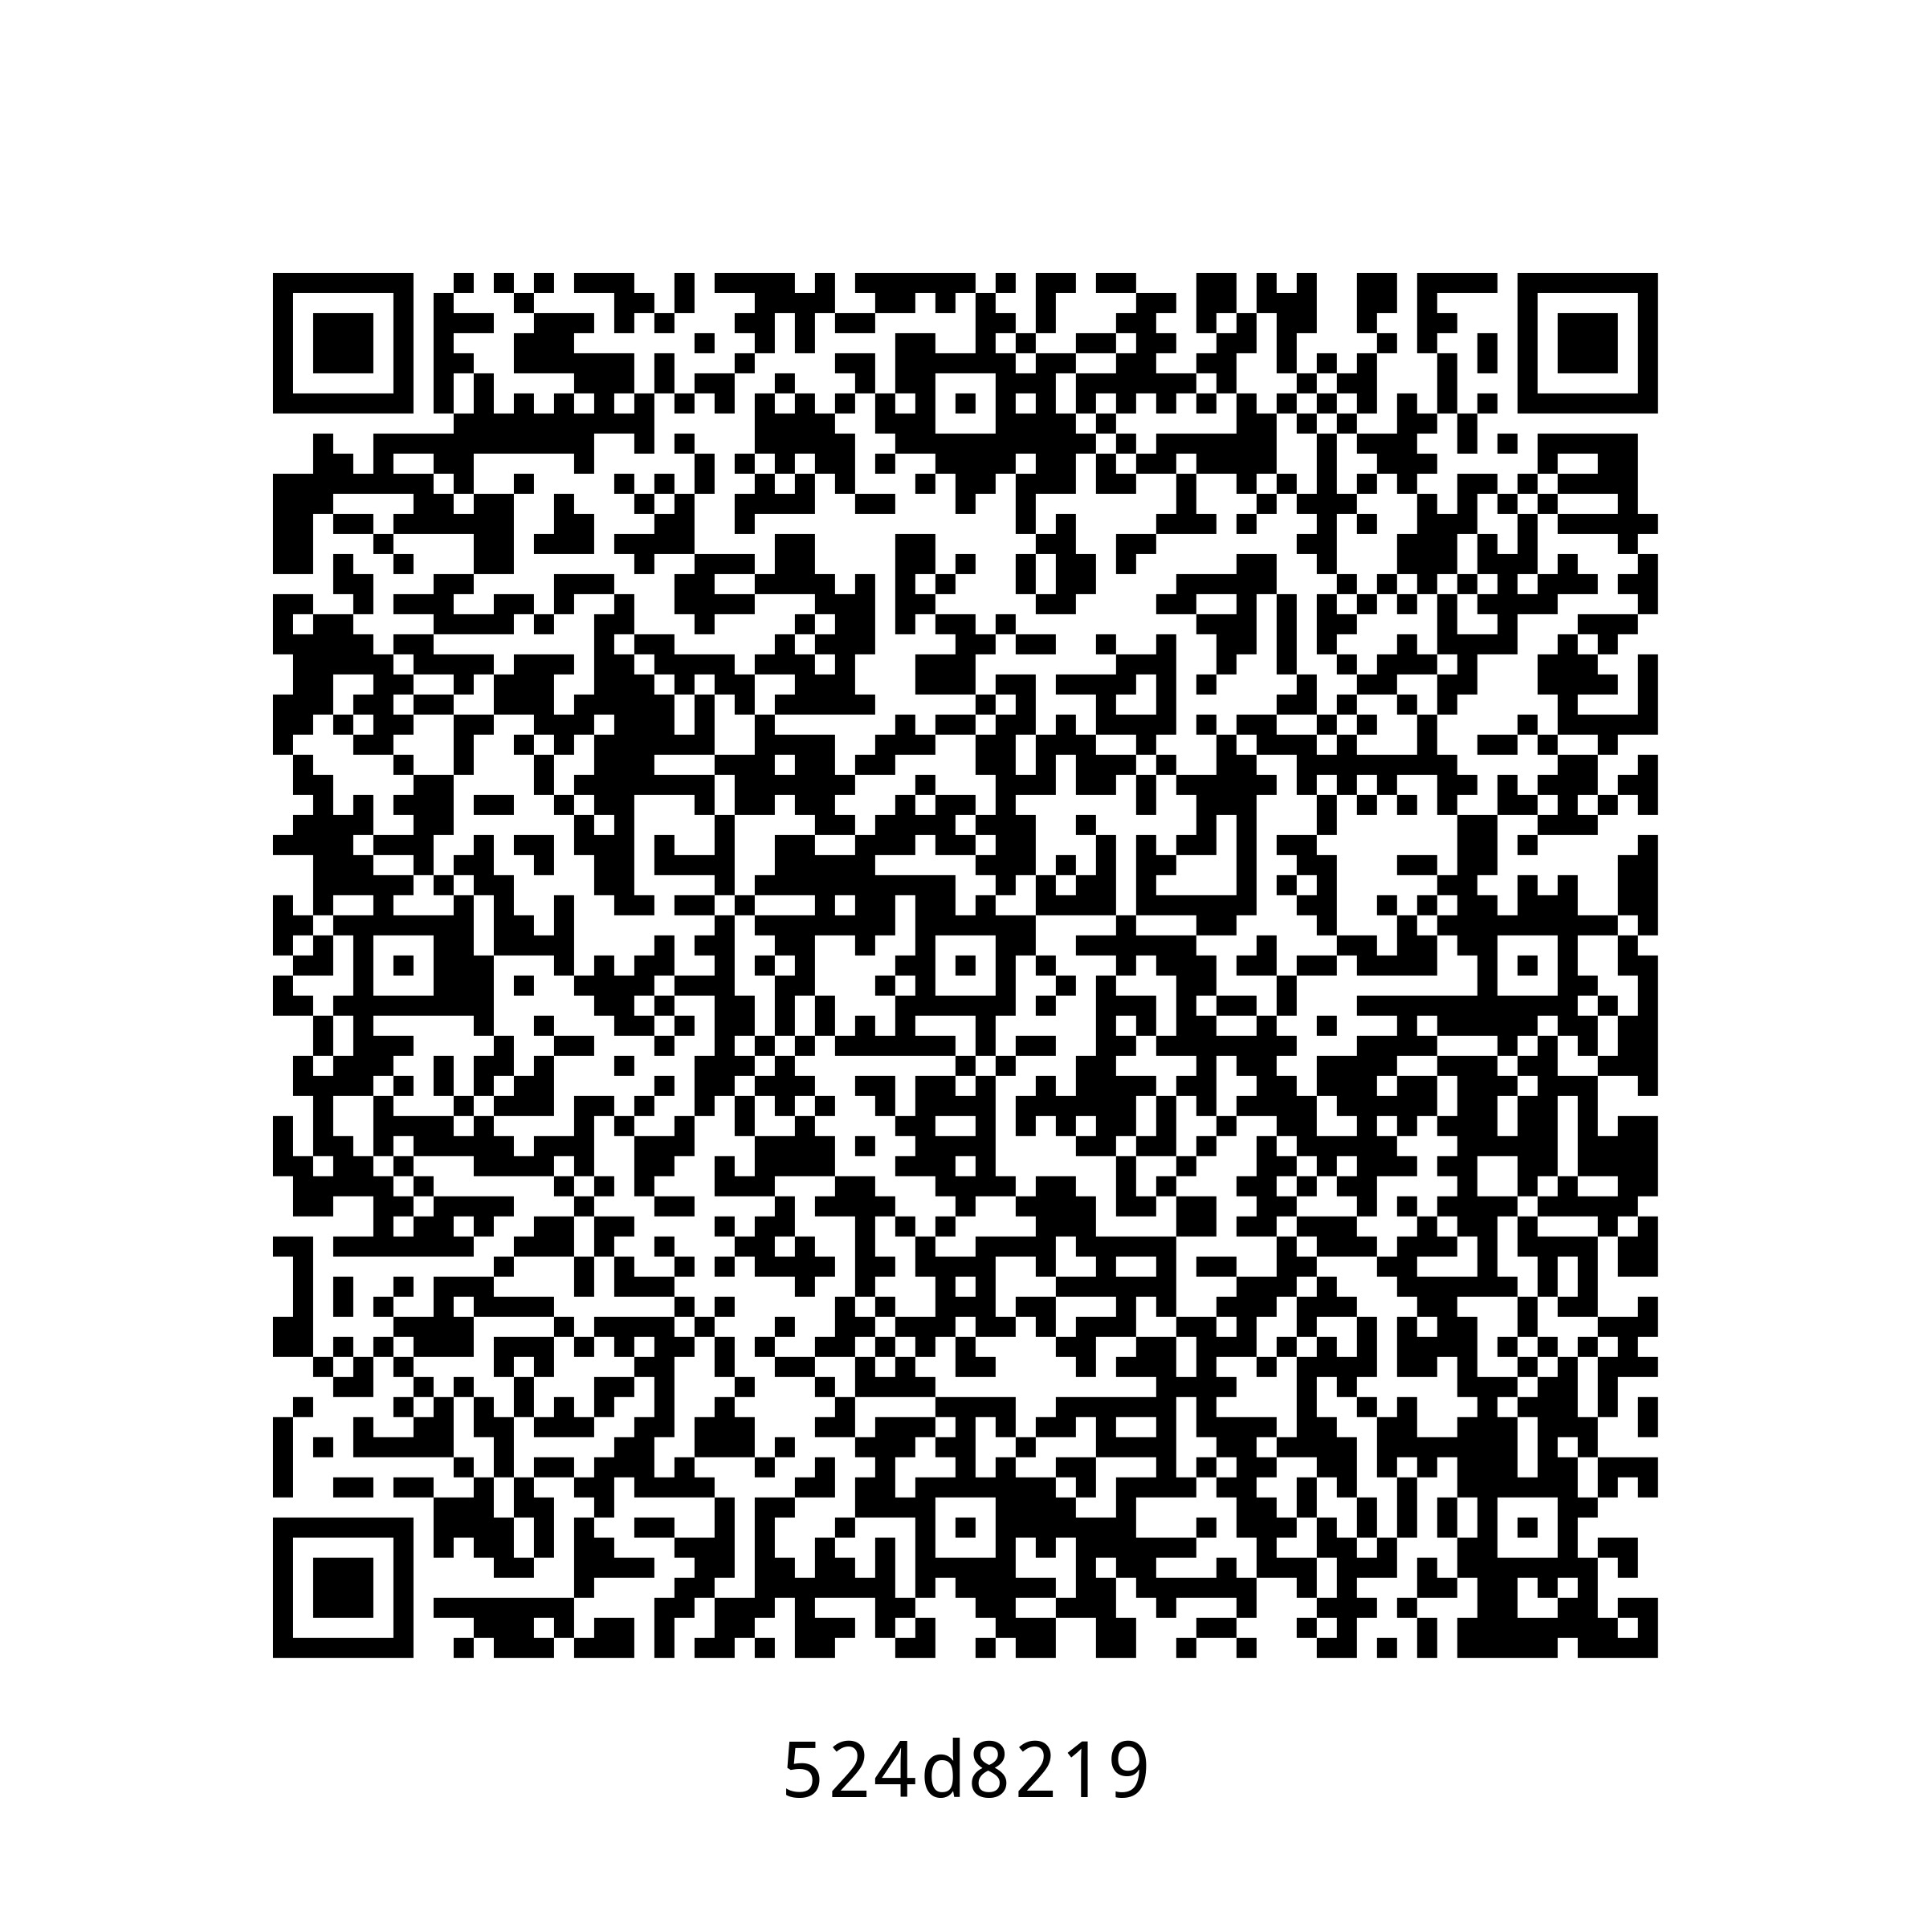
SHA512 hash: 524d8219b17aad59d7cec70f901dfdd449d15f21479740b0111b621cc870e6d82f2f4a0ea8303fb478b24500195325be9c3256d4d5b19700a1cdd1329fc2c71f
SHA512 short hash: 524d8219
Show SHA512 hash as QR code? (y or n)?
n
Done
The following image is now available on USB flash drive.
Secure erase flash drive
$ secure-erase.sh --help
Usage: secure-erase.sh [options]

Options:
  --iterations   overwrite n times (defauls to 3)
  --zero         overwrite with zeros to hide secure erase
  -h, --help     display help for command

$ secure-erase.sh
Secure erase USB flash drive? (y or n)?
y
Erasing… (iteration 1 of 3)
dd: error writing '/dev/sda1': No space left on device
1868+0 records in
1867+0 records out
1957691392 bytes (2.0 GB, 1.8 GiB) copied, 181.888 s, 10.8 MB/s
Erasing… (iteration 2 of 3)
dd: error writing '/dev/sda1': No space left on device
1868+0 records in
1867+0 records out
1957691392 bytes (2.0 GB, 1.8 GiB) copied, 195.606 s, 10.0 MB/s
Erasing… (iteration 3 of 3)
dd: error writing '/dev/sda1': No space left on device
1868+0 records in
1867+0 records out
1957691392 bytes (2.0 GB, 1.8 GiB) copied, 195.558 s, 10.0 MB/s
Done
👍