| .. | ||
| connection-check-ios.png | ||
| connection-check-macos.png | ||
| how-to-setup-system-wide-mullvad-dns-over-https-on-ios-and-macos.jpg | ||
| mullvad-doh.mobileconfig | ||
| README.md | ||
How to setup system-wide Mullvad DNS over HTTPS on iOS and macOS

Requirements
- iPhone running iOS 14 and up
- Mac running Big Sur and up
iOS guide
Heads-up: some apps bypass system-wide Mullvad DNS over HTTPS, see https://github.com/paulmillr/encrypted-dns.
Step 1 (if applicable): disable Lockdown Mode
Step 2: open “Safari” and download mullvad-doh.mobileconfig configuration profile
Step 3: install “mullvad-doh.mobileconfig” configuration profile
Open “Settings”, click “Profile Downloaded” and, finally, click “Install”
Step 4 (if applicable): enable Lockdown Mode
Step 5: check for DNS leaks
Go to https://mullvad.net/en/check.
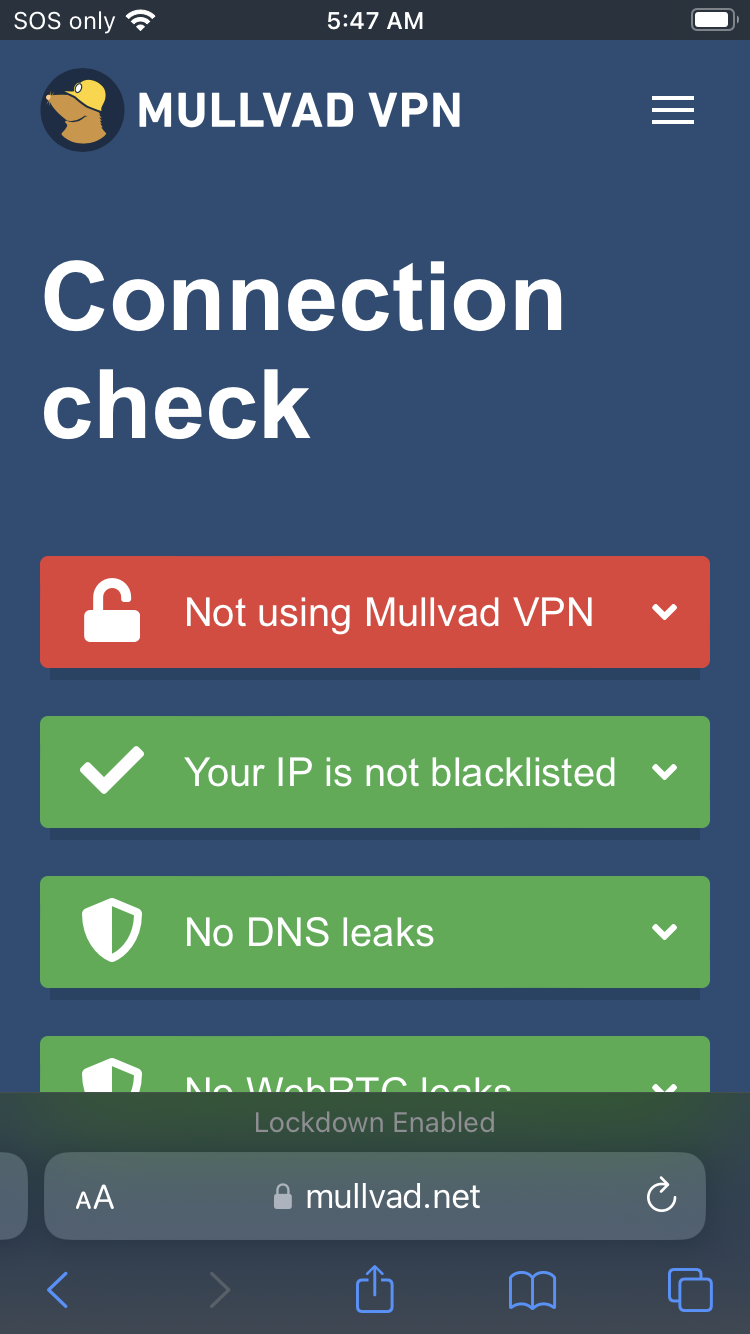
No DNS leaks
👍
macOS guide
Heads-up: some apps bypass system-wide Mullvad DNS over HTTPS, see https://github.com/paulmillr/encrypted-dns.
Heads-up: when using Little Snitch or Lulu, system-wide Mullvad DNS over HTTPS is disabled given a single network filter can be enabled at a time (restriction imposed by iOS/macOS).
Heads-up: given above, one should configure Firefox to use DNS over HTTPS as a failsafe.
Heads-up: for sensitive use cases, use Tor.
Step 1 (if applicable): disable Lockdown Mode
Step 2: download mullvad-doh.mobileconfig configuration profile
Step 3: install “mullvad-doh.mobileconfig” configuration profile
Open “System Settings”, search for “Profiles”, click “Profiles”, click “+”, open “mullvad-doh.mobileconfig”, click “Continue” and, finally, click “Install”.
Step 4 (if applicable): enable Lockdown Mode
Step 5: check for DNS leaks
Go to https://mullvad.net/en/check.
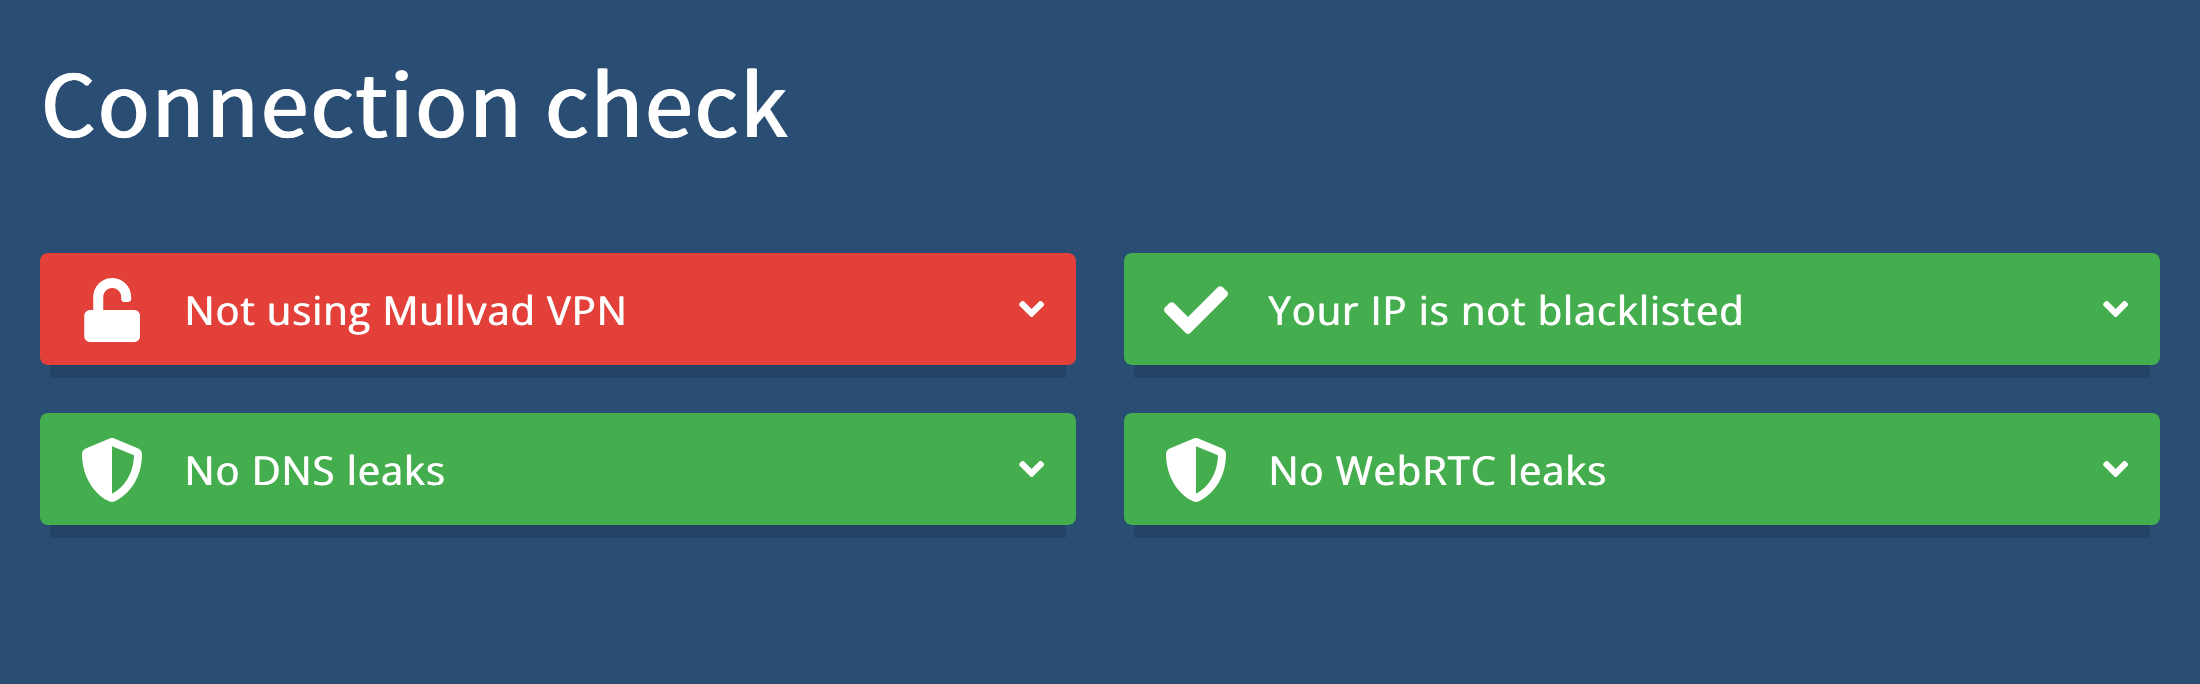
No DNS leaks
👍
Want things back the way they were before following this guide? No problem!
Delete configuration profile.
👍